Get Started
Introduction
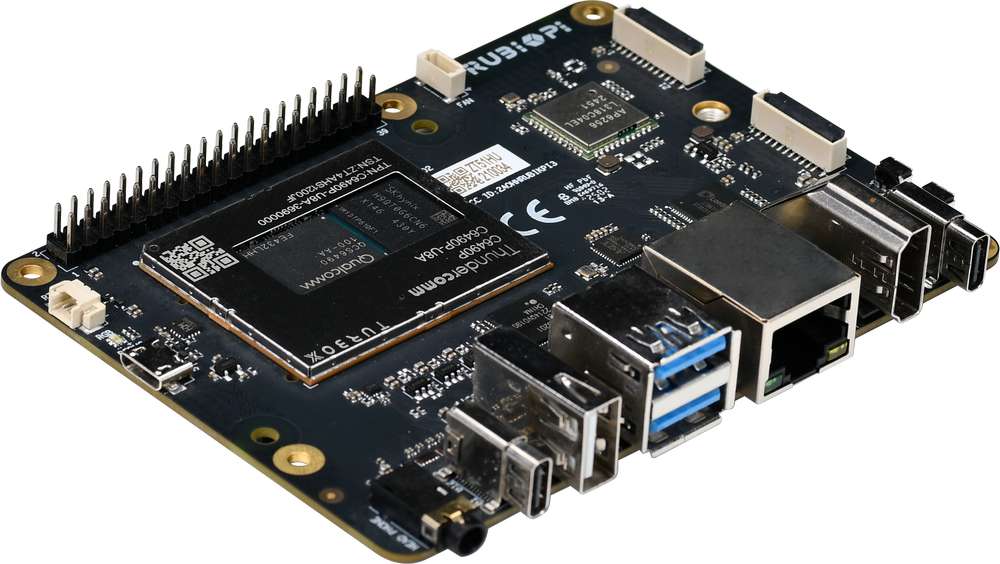
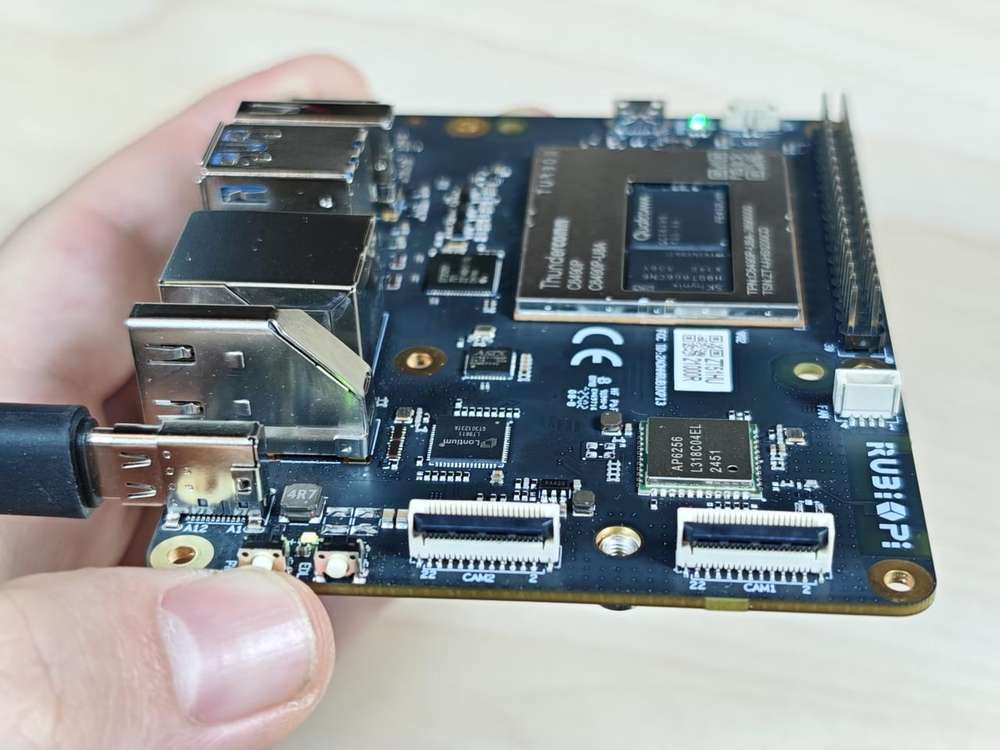
RUBIK Pi 3 is developed based on the Qualcomm QCS6490 processor, which features the Qualcomm® Kryo™ 670 CPU and the Qualcomm® Hexagon™ Processor with fused AI-accelerator architecture. The processor provides exceptional AI performance of 12 TOPS and offers the capability for various machine learning and AI application scenarios.
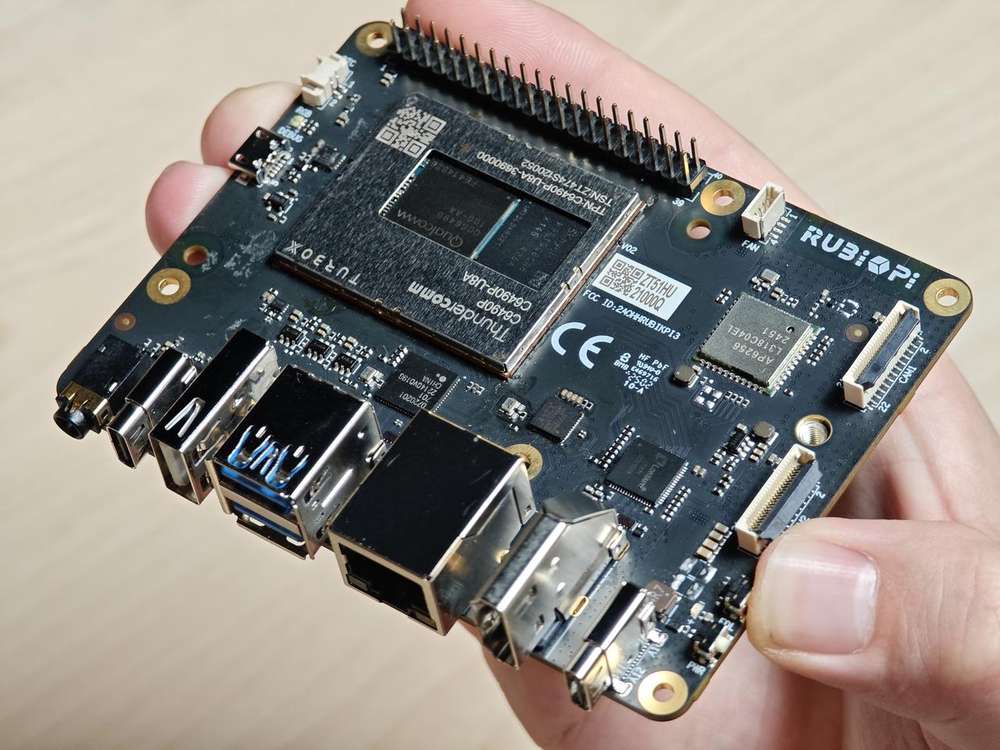
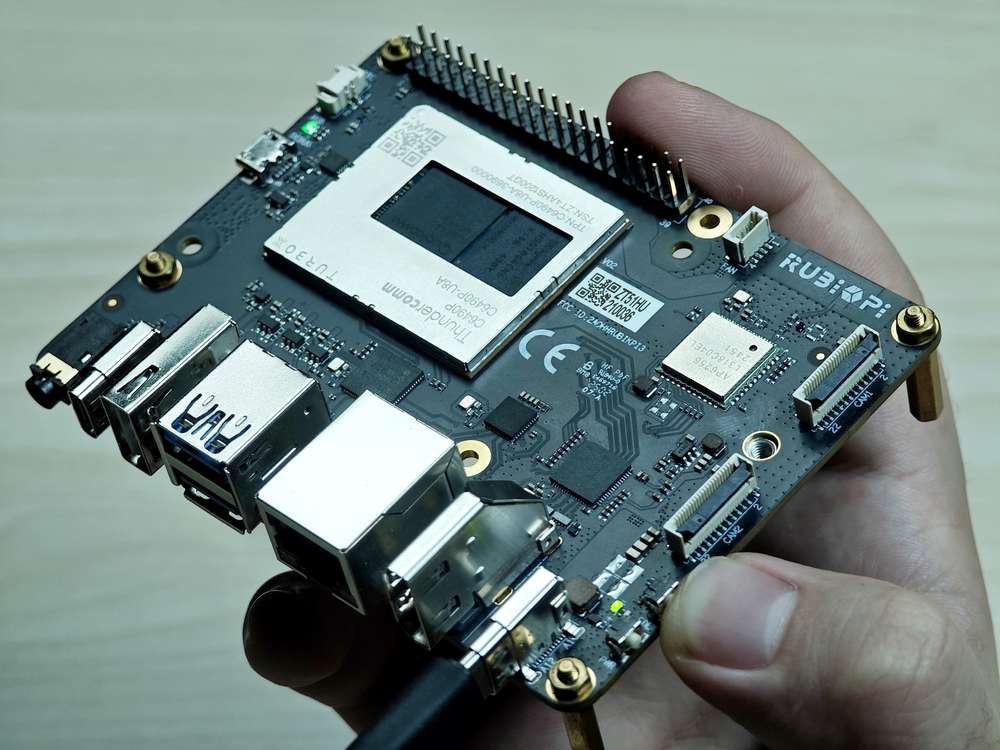
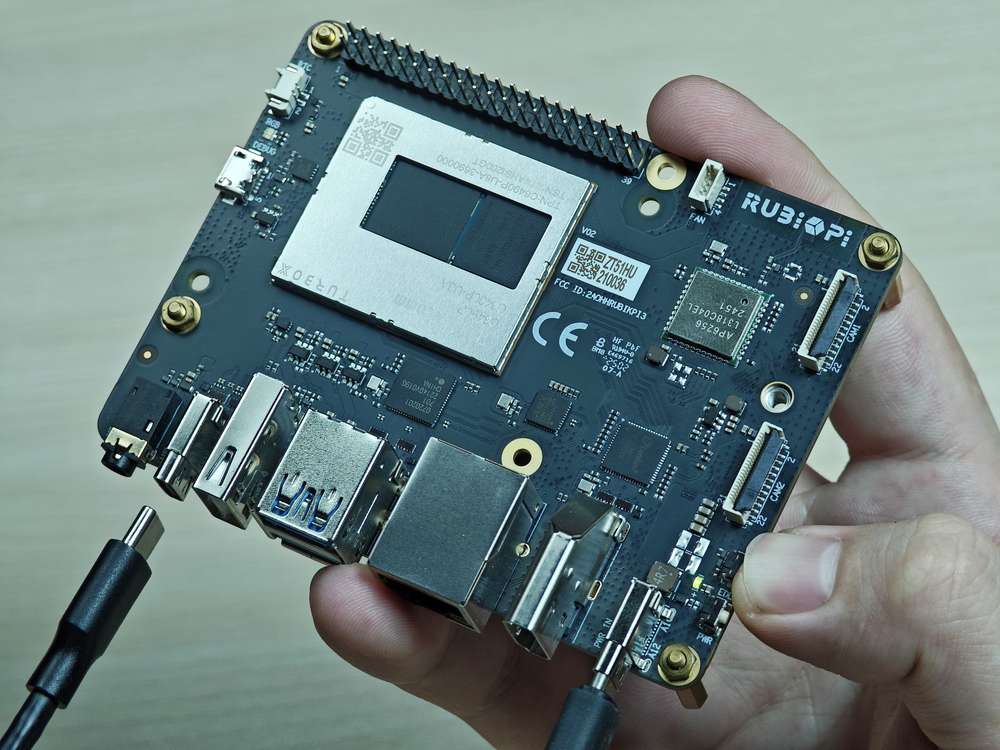
RUBIK Pi 3 is designed with a wide range of interfaces and functions, such as USB, camera, DisplayPort, HDMI, Ethernet, 3.5mm headphone jack, Wi-Fi, Bluetooth, M.2 connector, fan, RTC, and 40-pin LS connector. These features cater to diverse development needs while facilitating rapid development and efficient debugging.
RUBIK Pi 3 is compatible with various systems, such as Qualcomm Linux, Debian 13, Android 13, and Canonical Ubuntu for Qualcomm Platforms*, providing developers with the flexibility to meet their specific application needs.
*Canonical Ubuntu for Qualcomm Platforms is in the planning phase.
Specifications
| Category | RUBIK Pi 3 Feature |
|---|---|
| SoC | QCS6490 |
| Processor | 1 x Cortex-A78 2.7 GHz 3 x Cortex-A78 2.4 GHz 4 x Cortex-A55 1.9 GHz |
| GPU | Adreno 643 GPU @ up to 812 MHz |
| VPU | Adreno 633 VPU |
| NPU | 12 TOPS |
| ISP | Spectra ISP capable of on-device machine learning and machine processing |
| RAM | 8 GB LPDDR4x |
| ROM | 128 GB UFS 2.2 |
| Wi-Fi & Bluetooth | Wi-Fi 5 and Bluetooth 5.2 |
| Camera | 2 x 4-lane MIPI CSI D-PHY connector |
| USB | 1 x USB Type-C (USB 3.1 Gen1) 2 x USB Type-A (USB 3.0) 1 x USB Type-A (USB 2.0) |
| GPIO | 28 GPIO pins |
| Ethernet | 1000M |
| M.2 connector | M.2 Key M 2280 (2-lane PCIe 3.0) |
| Audio | 3.5mm headphone jack |
Preparations
-
Computer running Windows 10 and later, or Ubuntu 18 – Ubuntu 22
-
RUBIK Pi 3
-
USB Type-A to Type-C cable
-
USB Type-A to Micro USB cable
-
Power supply (12V 3A Type-C)
Install drivers
Install drivers in a Windows environment
Install QUD
-
Click here to download the Qualcomm USB driver (QUD).
-
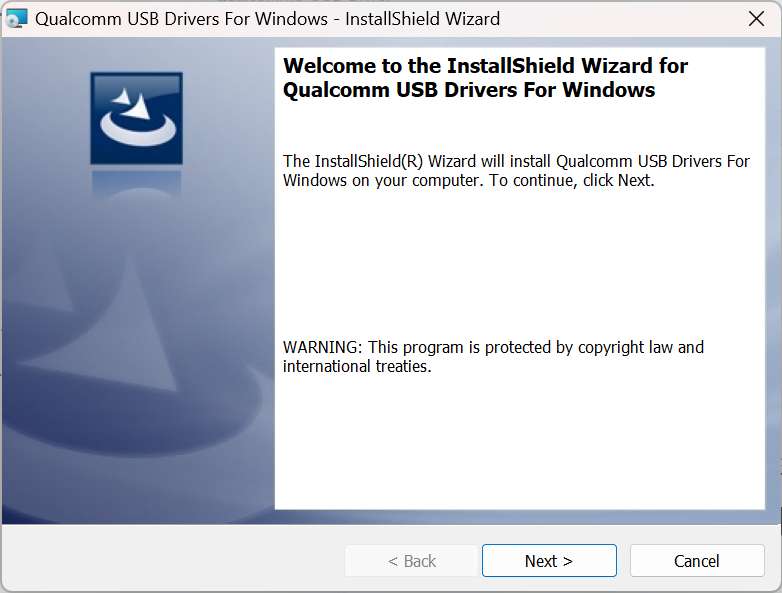
Decompress qud.win.1.1_installer_10061.1.zip, run setup.exe as shown in the following figure, and click Next.
-
Click Next.
-
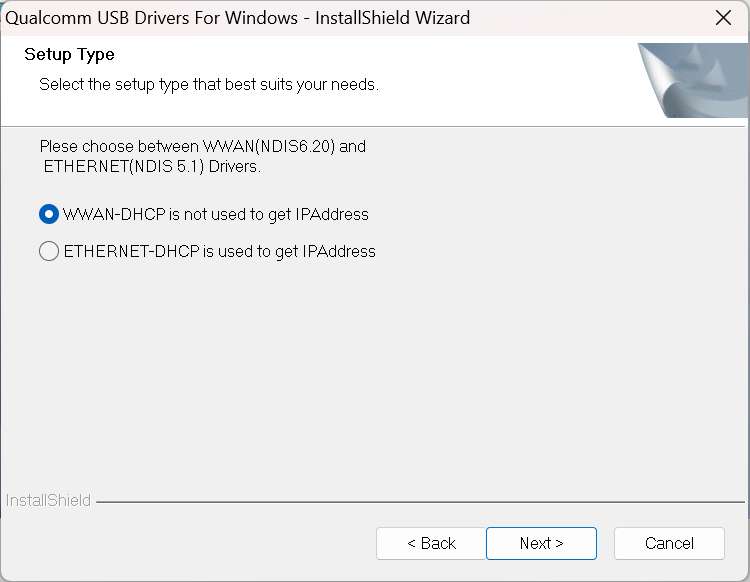
Select the I accept the terms in the license agreement option and click Next.

-
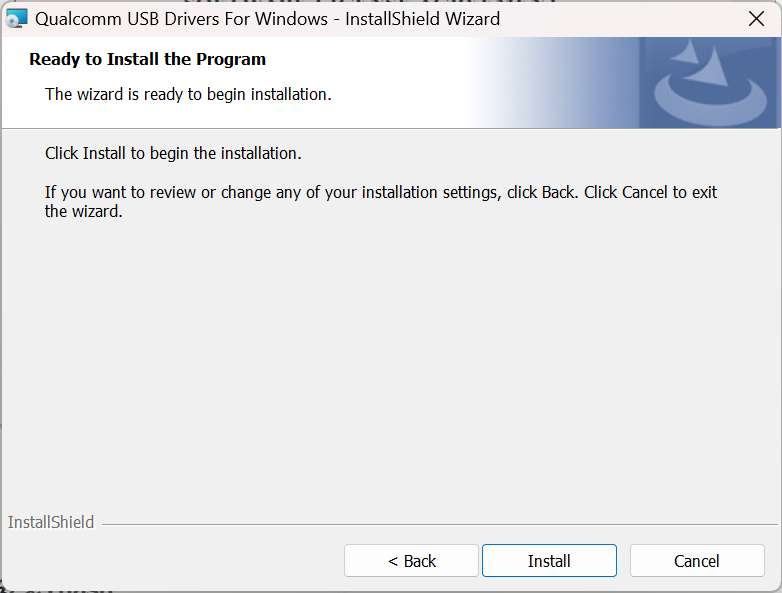
Click Install.
-
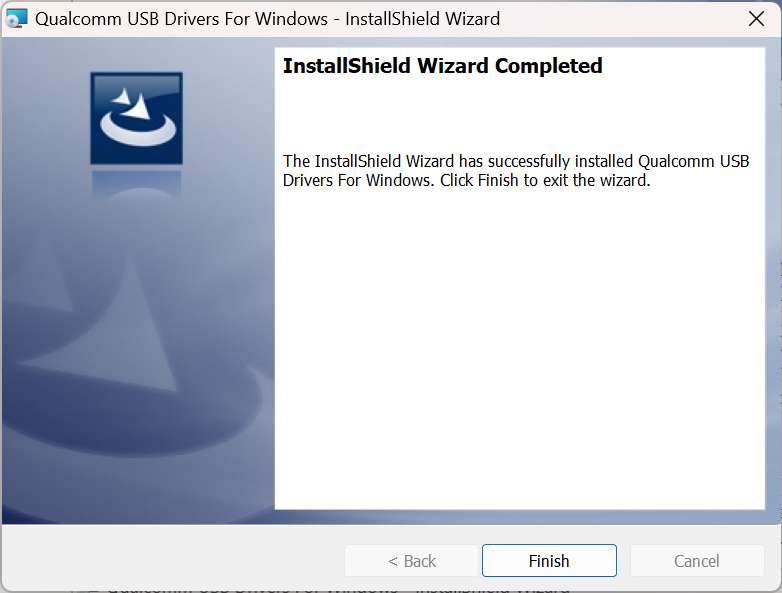
Click Finish to complete the driver installation.
Install Tflash
-
Click here to download the image flashing tool Tflash.
-
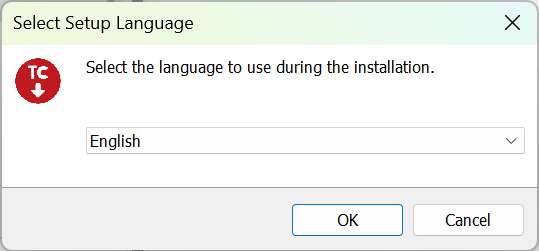
Run TflashSetup_v1.2.0.4.exe. Select your desired language and click OK.
-
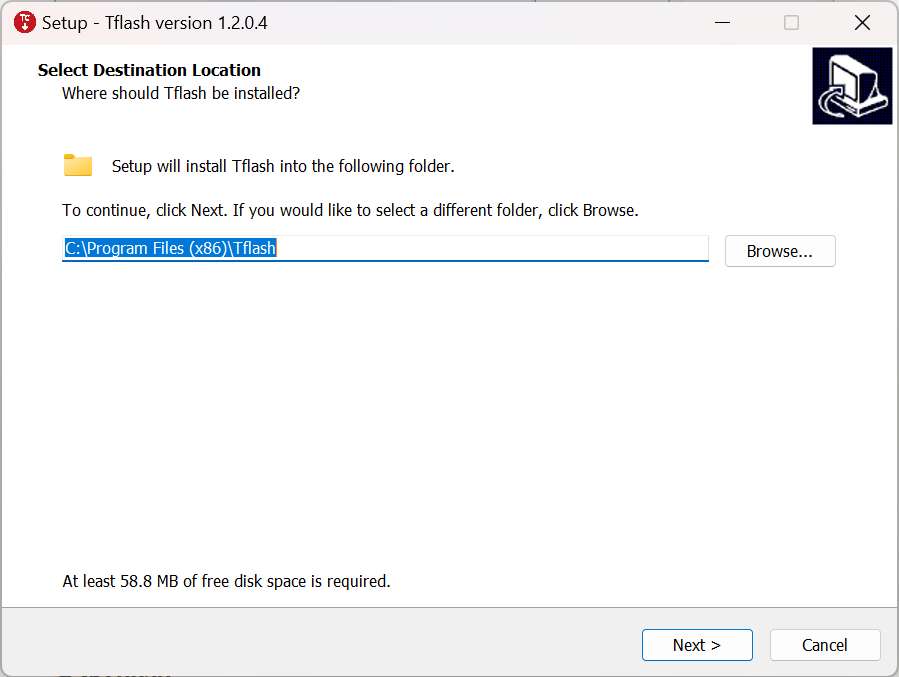
Select the location where you want to install Tflash and click Next.
-
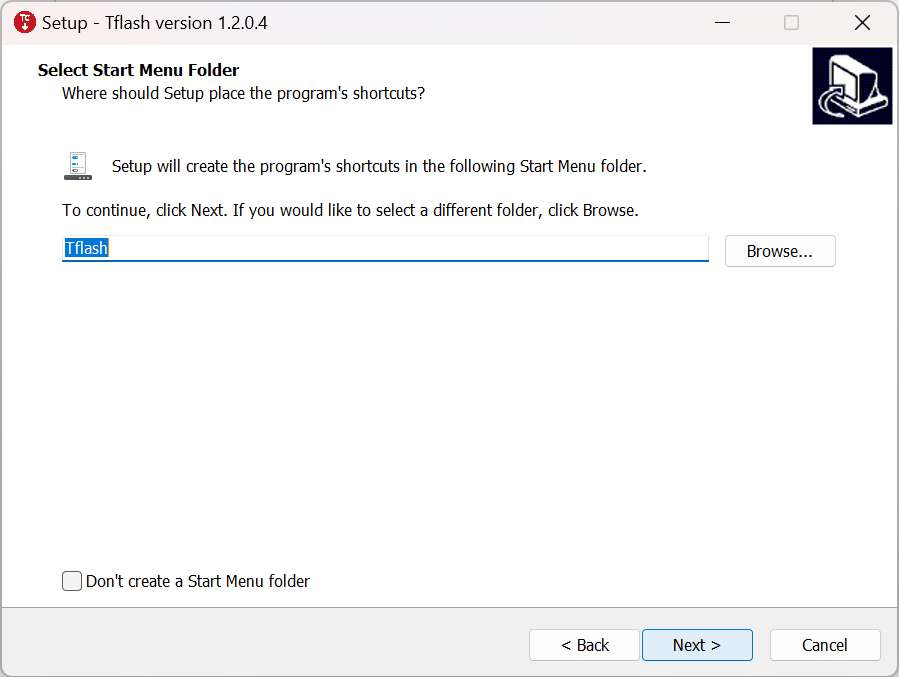
Click Next.
-
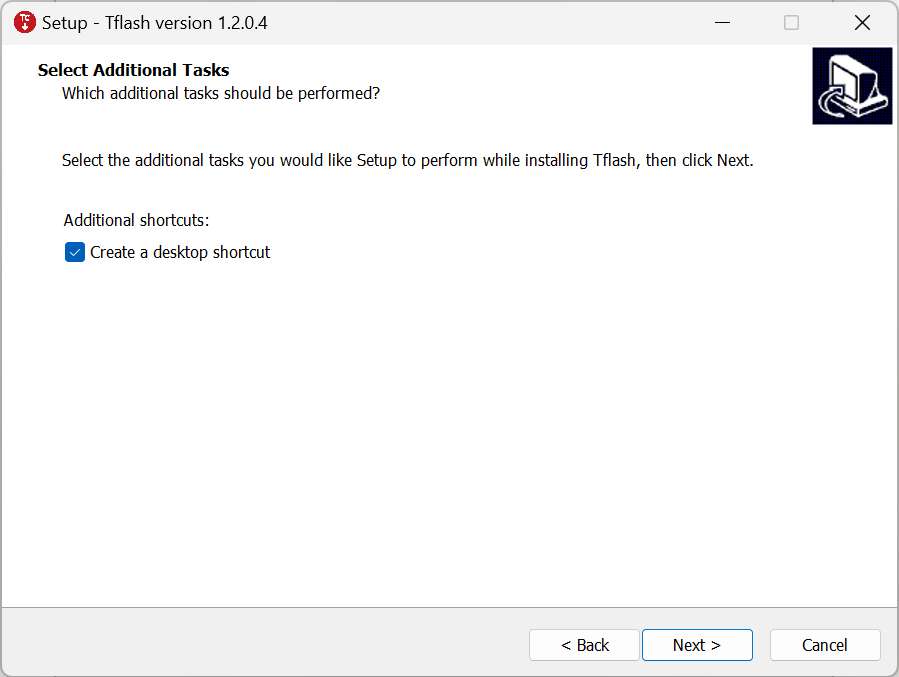
Select the Create a desktop shortcut option and click Next.
-
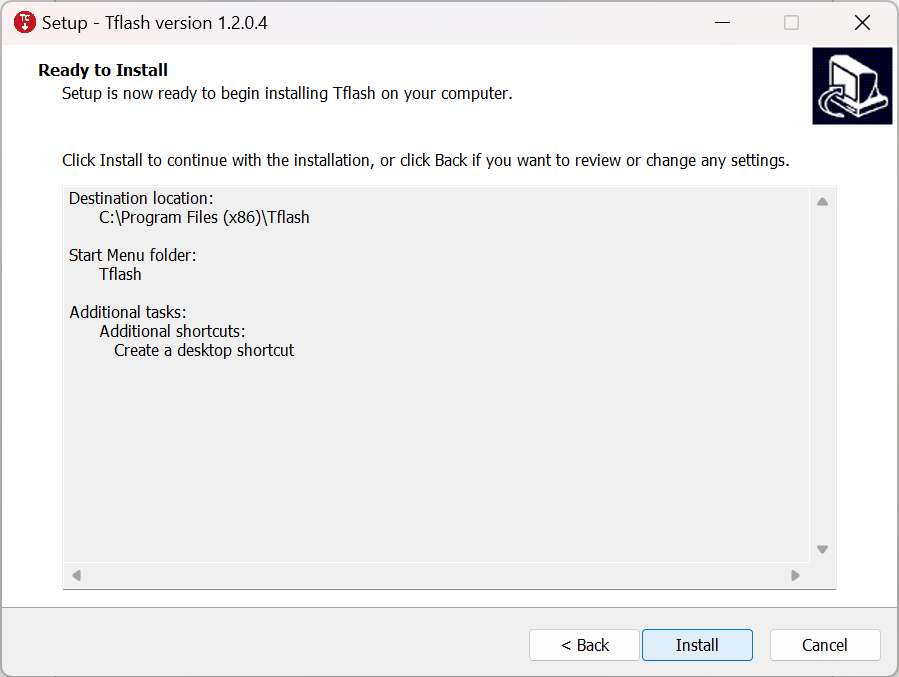
Click Install.
-
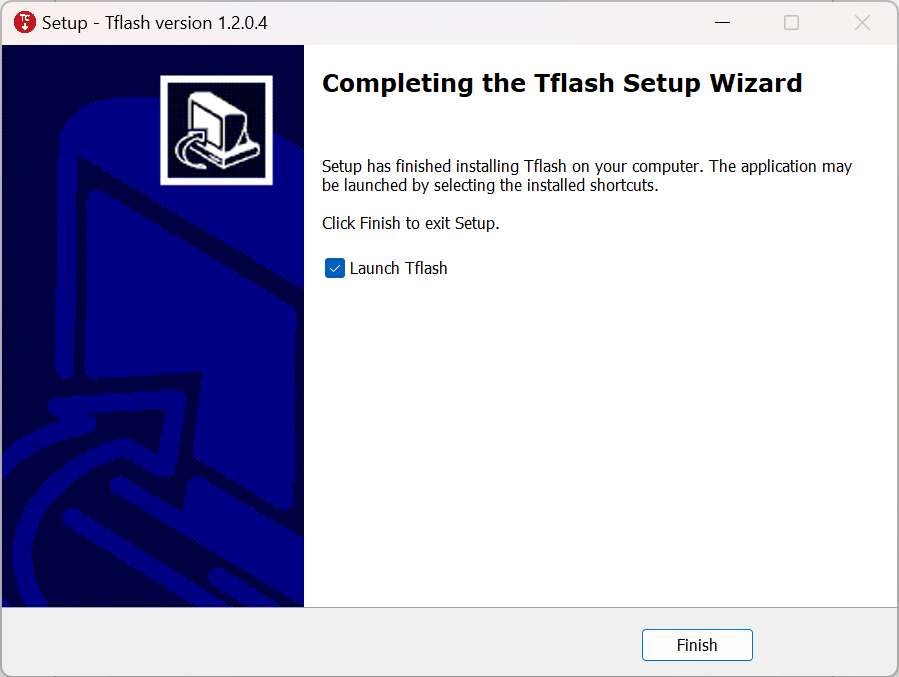
Select the Launch Tflash option and click Finish.
-
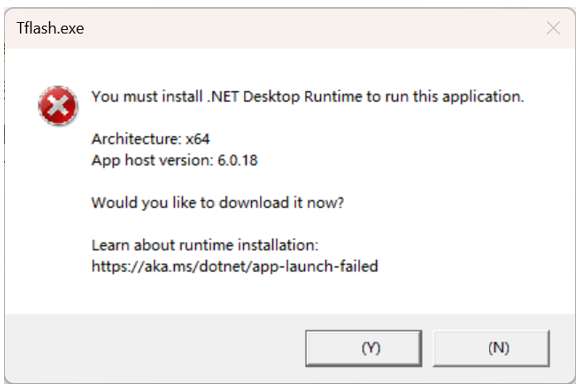
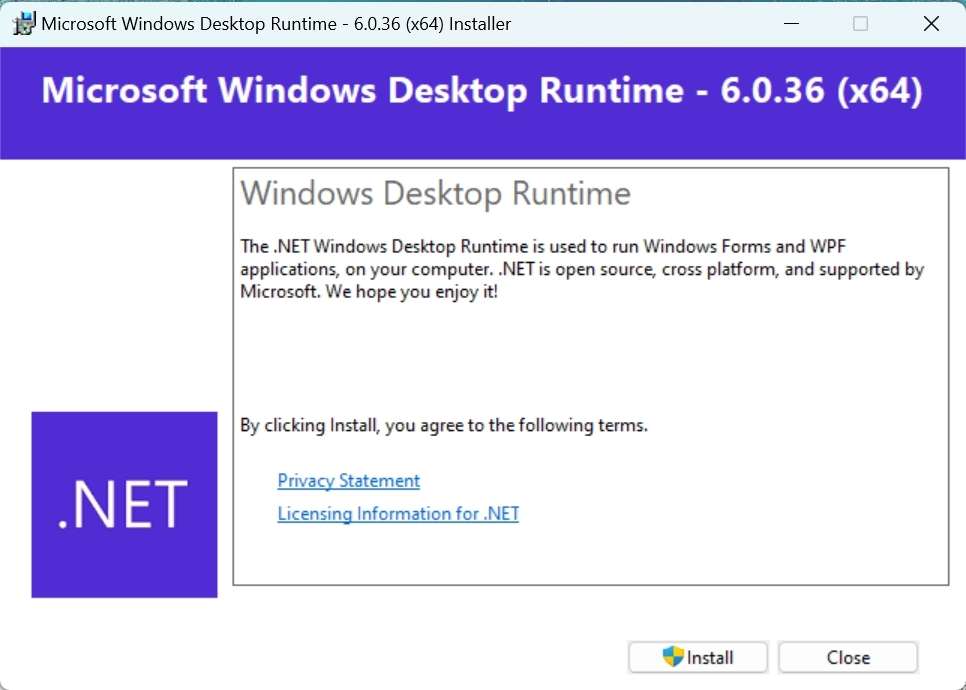
If the following error message appears, click Y. Follow the instructions to download the required installation package.
-
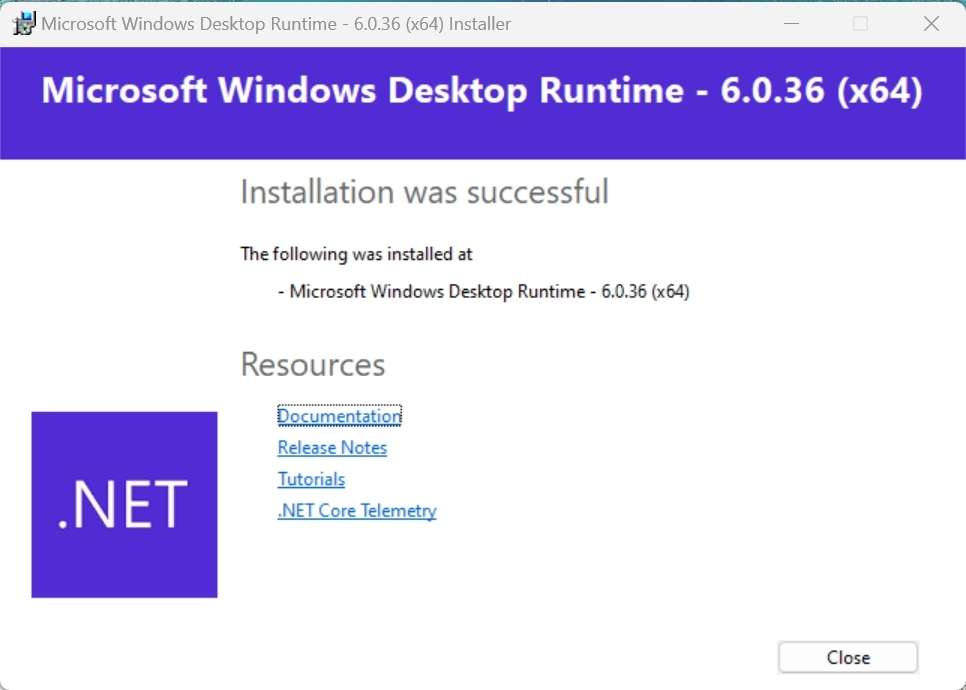
Double-click the package you downloaded and click Install.
-
Click Close to complete the installation.
- After the installation is completed, the following Tflash icon will appear on your desktop and in the Start menu.

Install drivers in an Ubuntu environment
Install Tflash
-
Click here to download the image flashing tool Tflash.
-
Run the following command to install Tflash.
sudo dpkg -i Thundercomm-tflash-v1.0.0.deb
-
After the installation is completed, run the
tflashcommand in the terminal. If the following message appears, it indicates that Tflash has been successfully installed: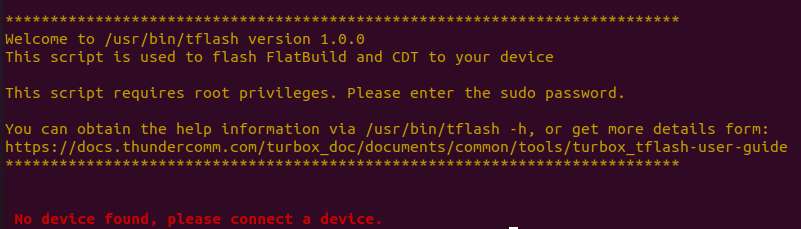
Download images
RUBIK Pi 3 comes with a pre-installed Linux image (not the latest version) for a quick out-of-the-box experience. If you need the latest version of the Android image or other operating system images, visit the RUBIK Pi 3 official website.
-
Qualcomm Linux is a simplified desktop system based on Weston. It is suitable for developers who have Linux development experience and seek an in-depth development experience.
-
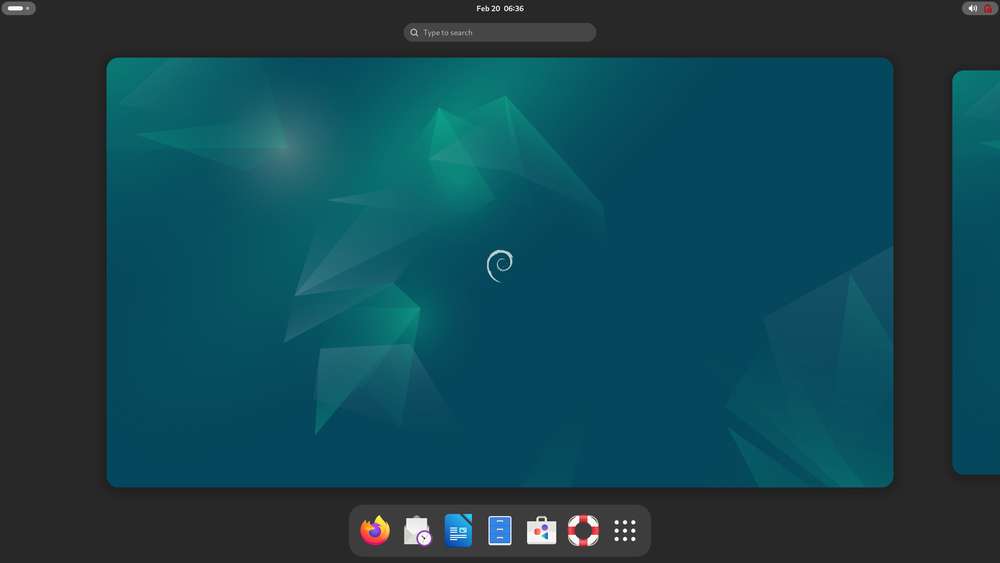
Debian 13: Based on GNOME 48, Debian 13 offers a complete set of system features, a rich software package library, more desktop applications, an enhanced user experience, and abundant development resources, making it ideal for developers who prioritize development convenience.
-
Android 13 is an enhanced system based on Google AOSP, offering an improved experience for developers working on Android applications.
RUBIK Pi 3 provides two Android image versions: user and userdebug. In the Android system, user and userdebug are different build types designed for distinct use cases.
-
The user version is a production build intended for end users, focusing on security and stability. It disables debugging features, restricts root access and advanced ADB commands, and minimizes log output to ensure smooth system performance and protect user privacy, delivering a reliable experience for daily use.
-
The userdebug version is a development build designed for developers and testers. It offers enhanced debugging support, including temporary root access, full ADB functionality, and detailed logging. This makes it ideal for tasks such as modifying system files, monitoring application behavior, or troubleshooting. However, due to its elevated permissions and additional resource usage, it is less secure and is recommended only for development and testing purposes.

-
Flash images

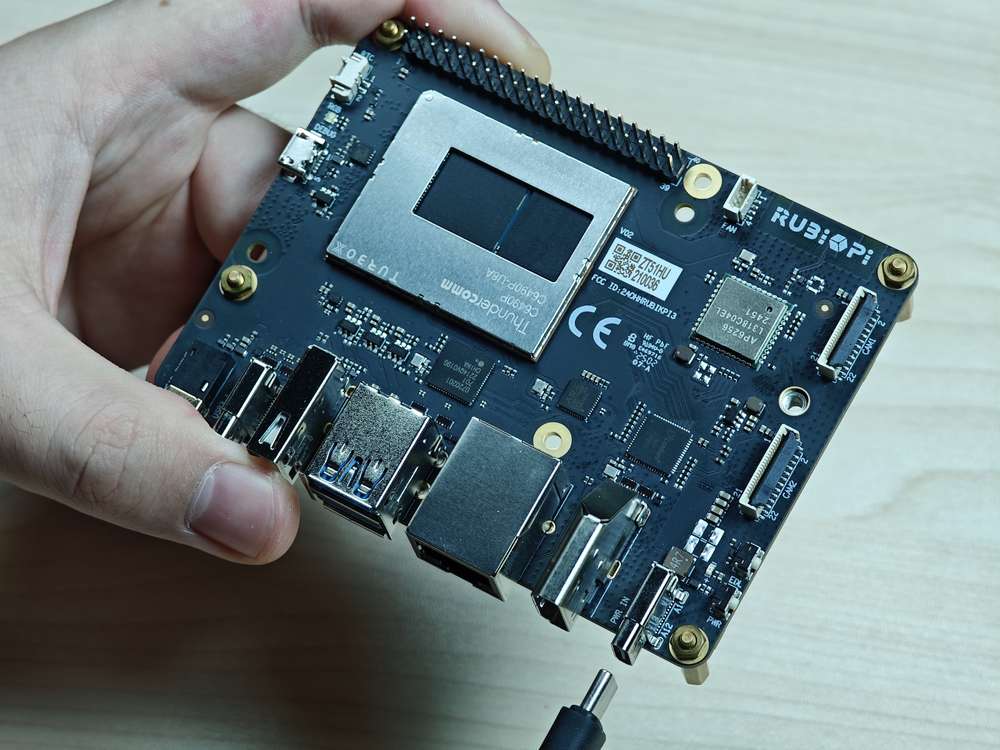
Before flashing images, enter flash mode (9008 mode) using one of the following methods:
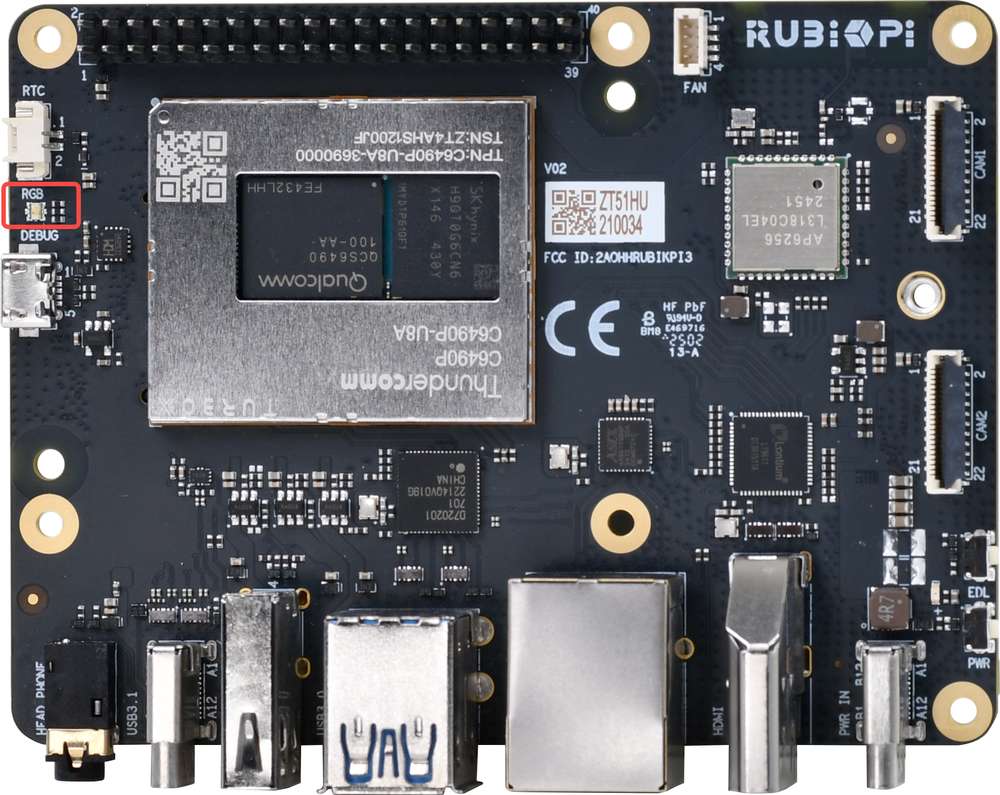
Method 1:
-
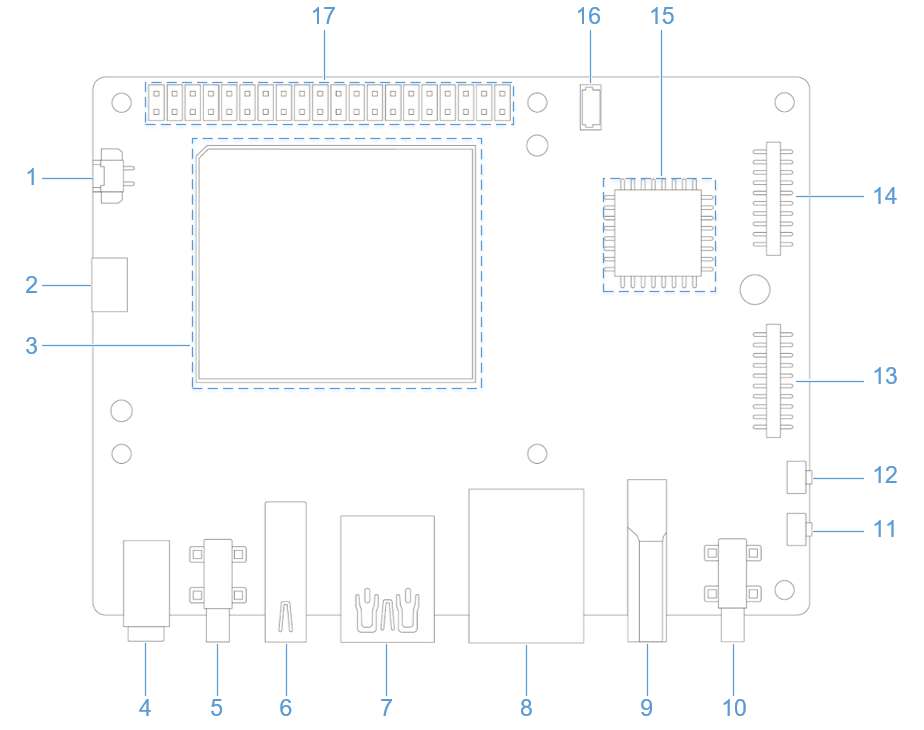
Press and hold the [EDL] button (No. 12 in the figure above).
-
Connect the power supply into port 10, as shown in the figure below.
-
Insert the Type-C cable into port 5 and wait three seconds to enter 9008 mode.
Method 2:
-
Connect the power supply into port 10.
-
Insert the Type-C cable into port 5.

-
After RUBIK Pi 3 boots up, run the following command to enter 9008 mode.
adb shell reboot edl
Flash images on a Windows system
Operation procedure
-
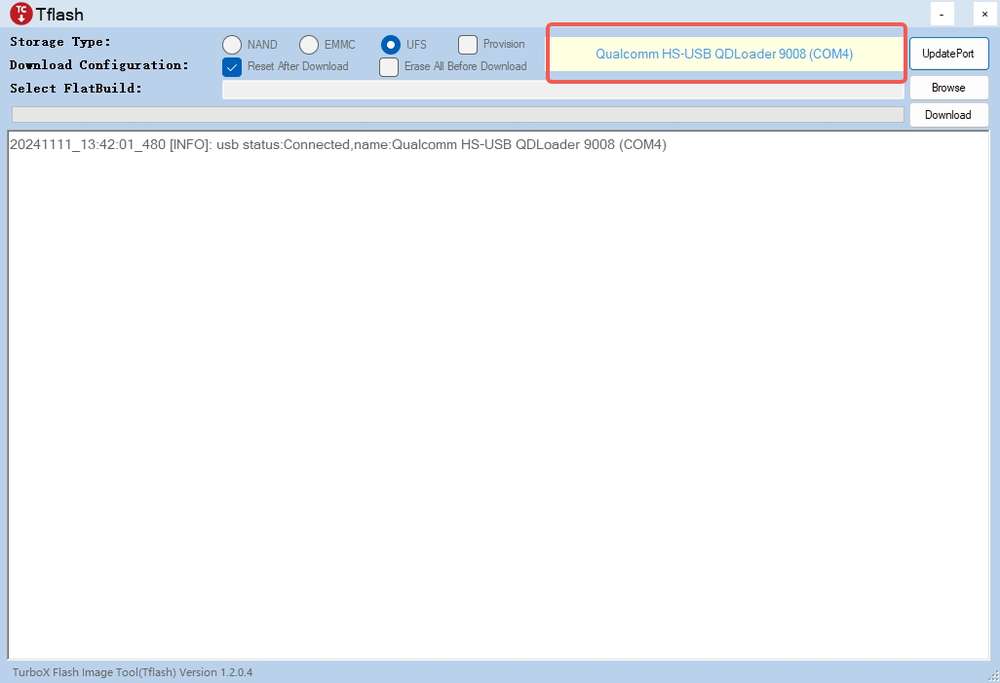
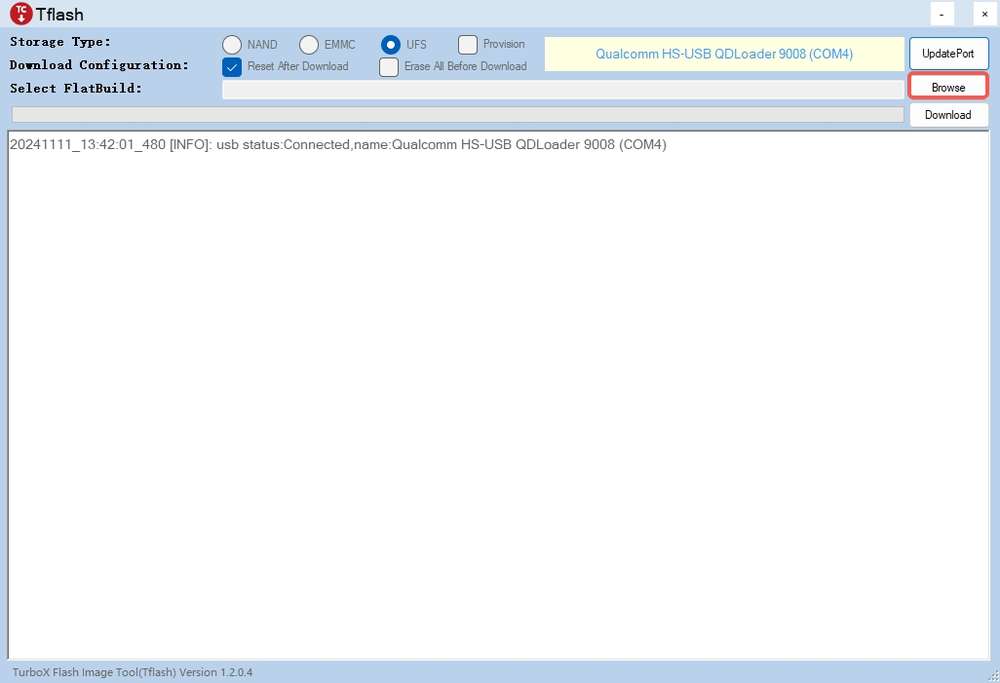
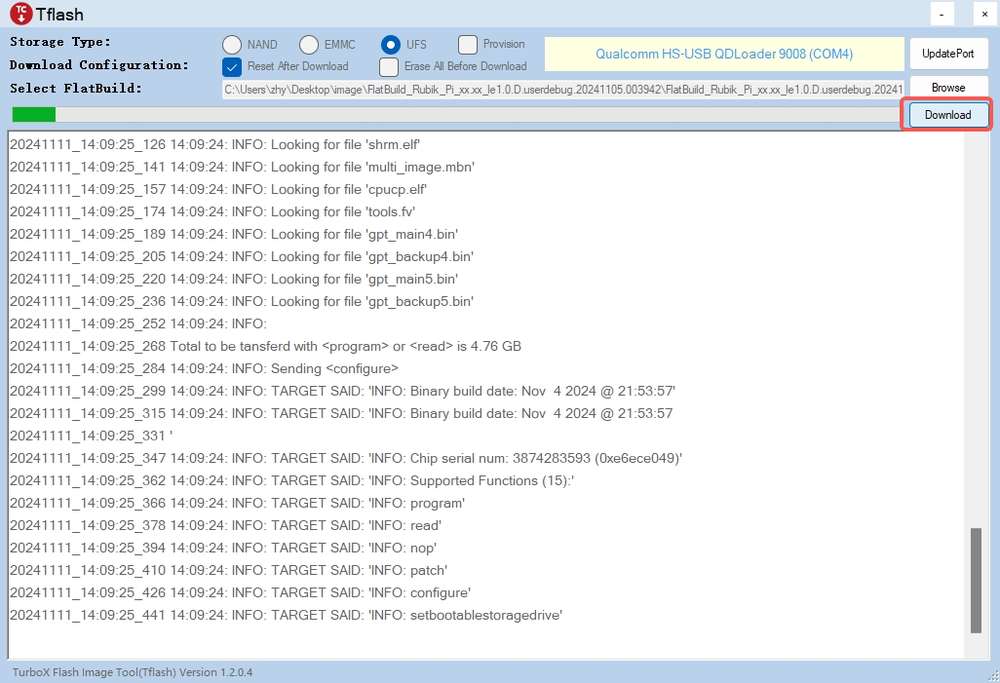
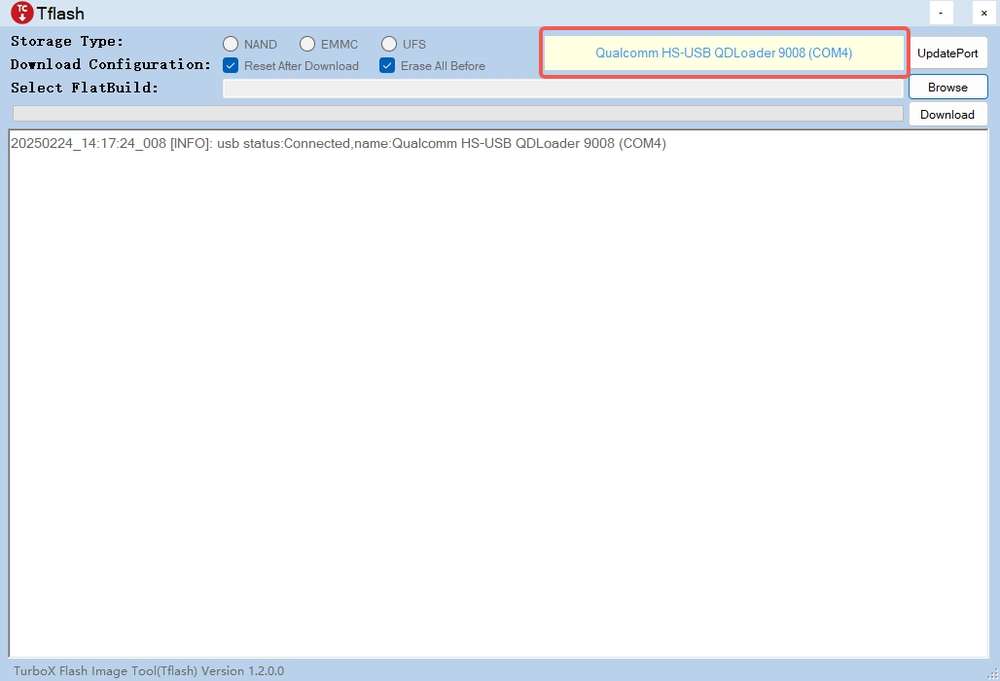
Open the Tflash software. Make sure the device is in 9008 mode, as shown in the following figure:
-
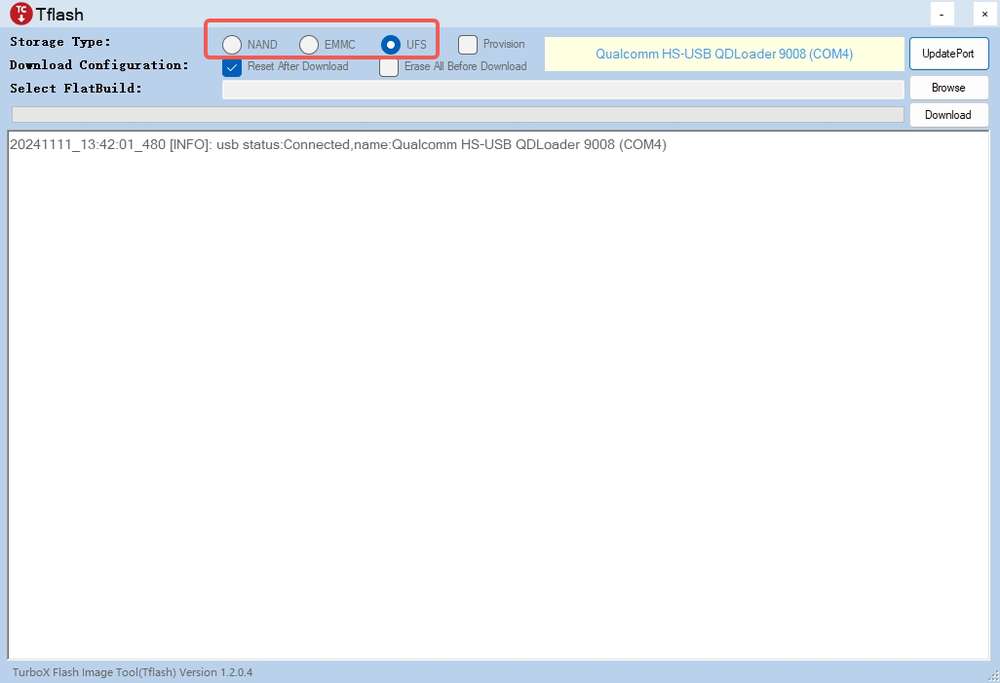
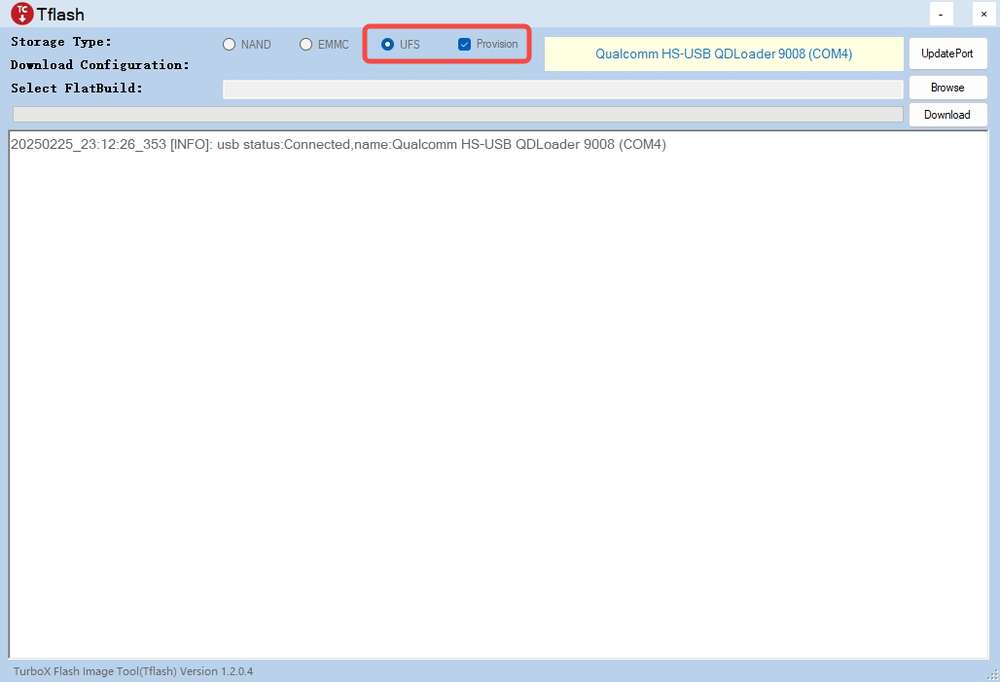
Select the Storage Type of the device to be flashed. For RUBIK Pi 3, select UFS for Storage Type.
-
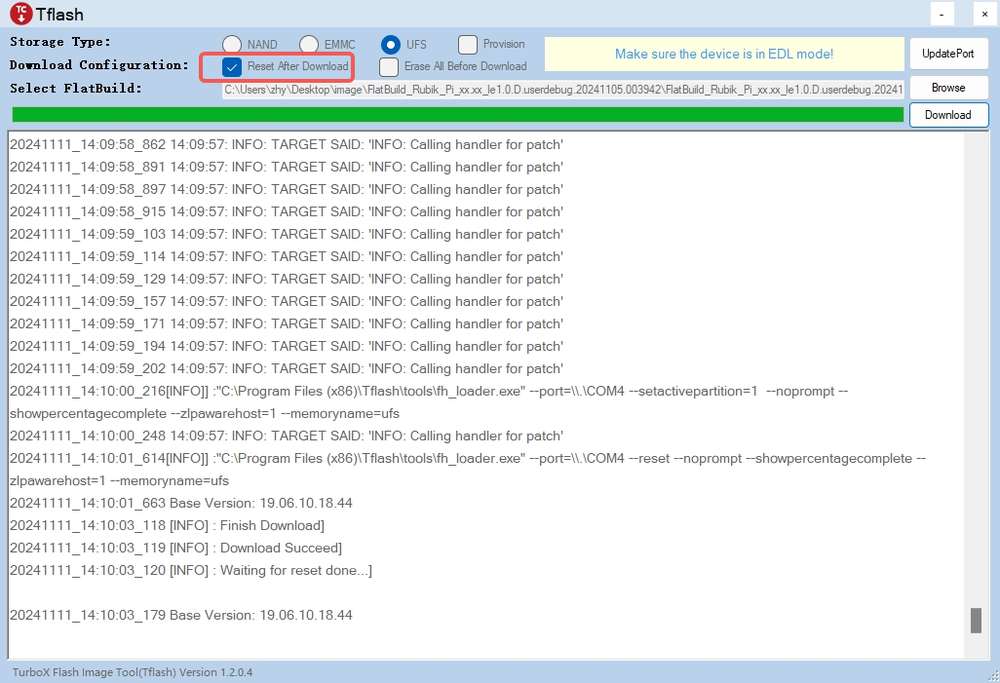
Select Reset After Download or Erase All Before Download as needed. Exercise caution when selecting Erase All Before Download.
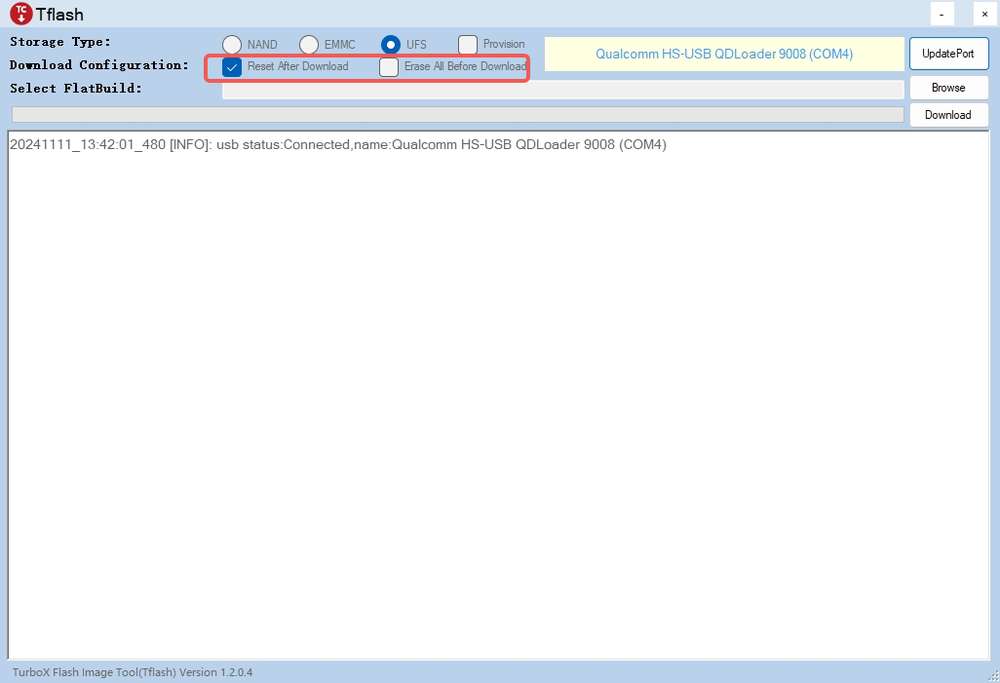
-
Reset After Download: When this option is selected, the device will reboot automatically after image flashing is completed.
-
Erase All Before Download: When this option is selected, the data in each RUBIK Pi 3 UFS partition will be erased before flashing.
note-
The Erase All Before Download option takes effect only when the UFS partitions are the same before and after flashing.
-
Selecting Reset After Download or Erase All Before Download is not a mandatory action. You are not required to select one of them.
-
-
-
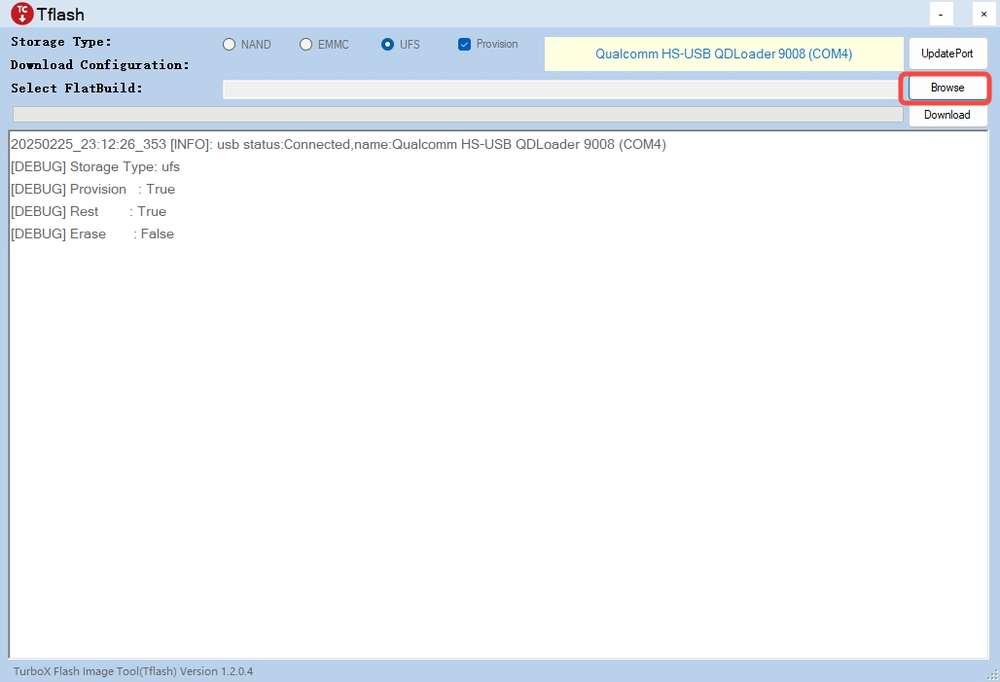
Flash the FlatBuild image.
-
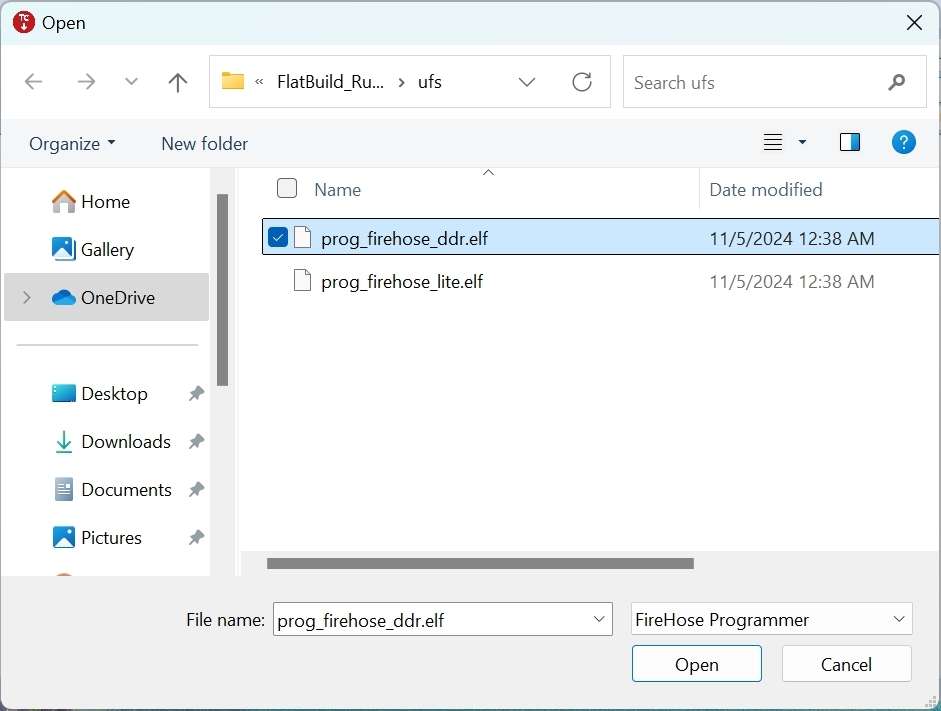
Click Browse.
-
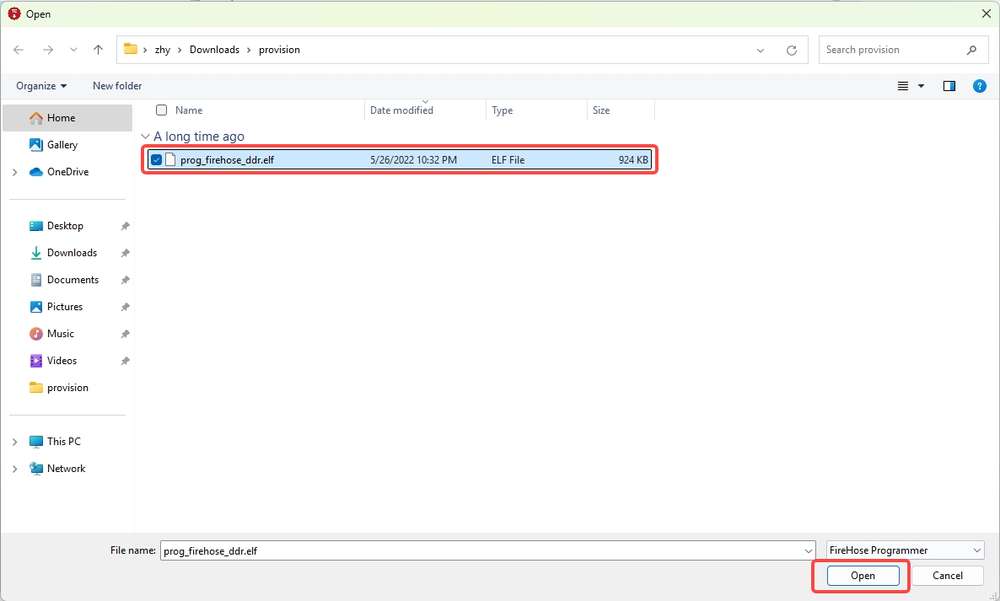
Go to the FlatBuild directory, select Programmer File, and select prog_firehose_ddr.elf, and click Open.
-
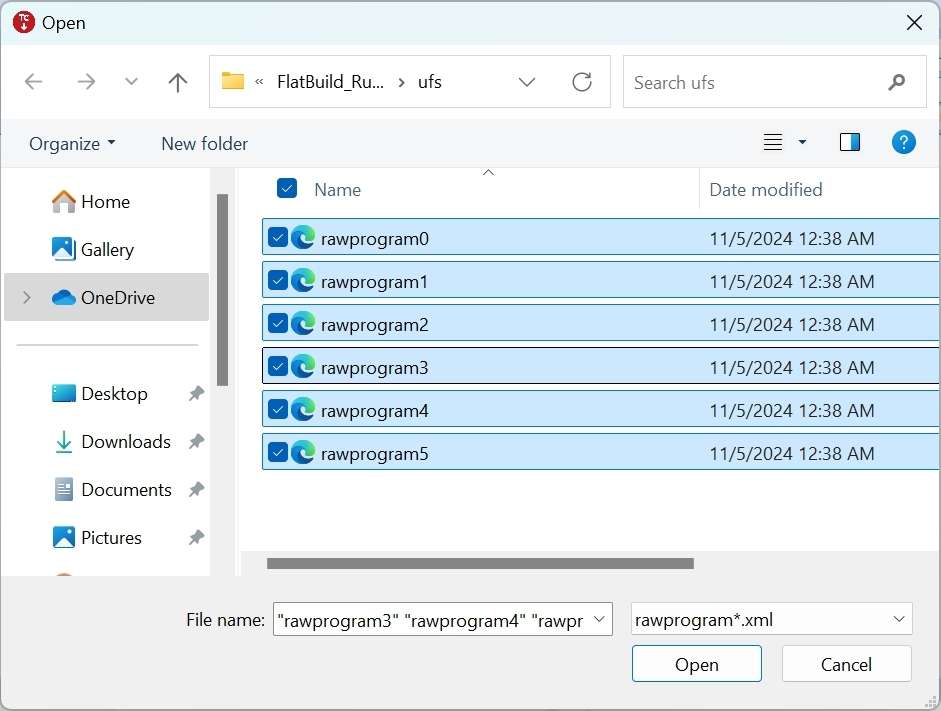
Select all .xml files whose names start with "rawprogram", and click Open.
-
Select all .xml files whose names start with "patch", and click Open.
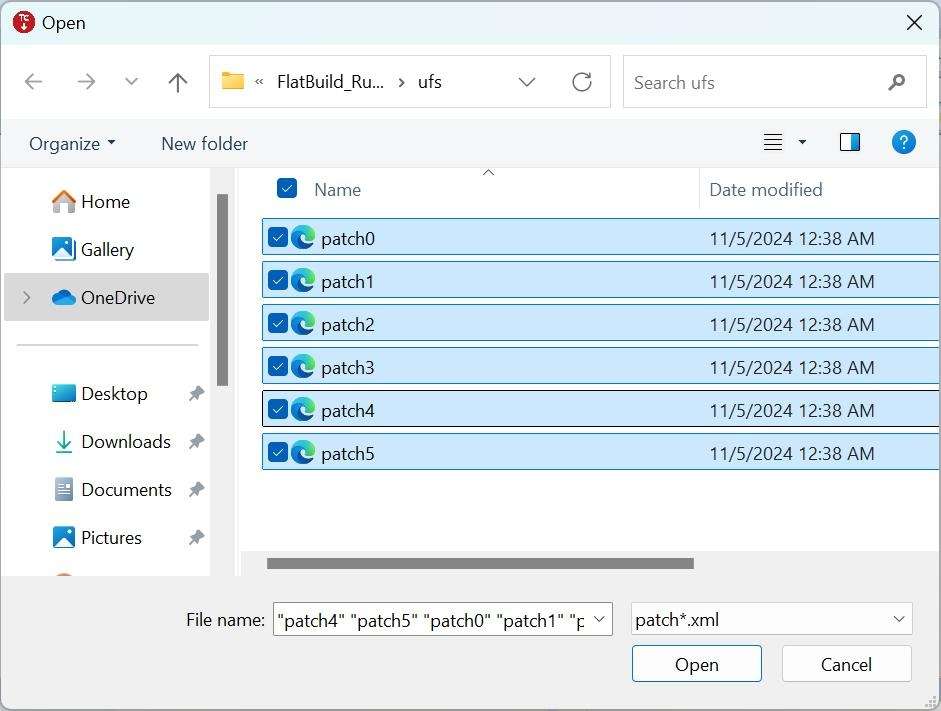
After the above settings, the related information will be displayed in the Tflash interface.

-
Click Download to start flashing.
 note
noteThe flashing time varies from computer to computer. The green progress bar shows the flashing progress.
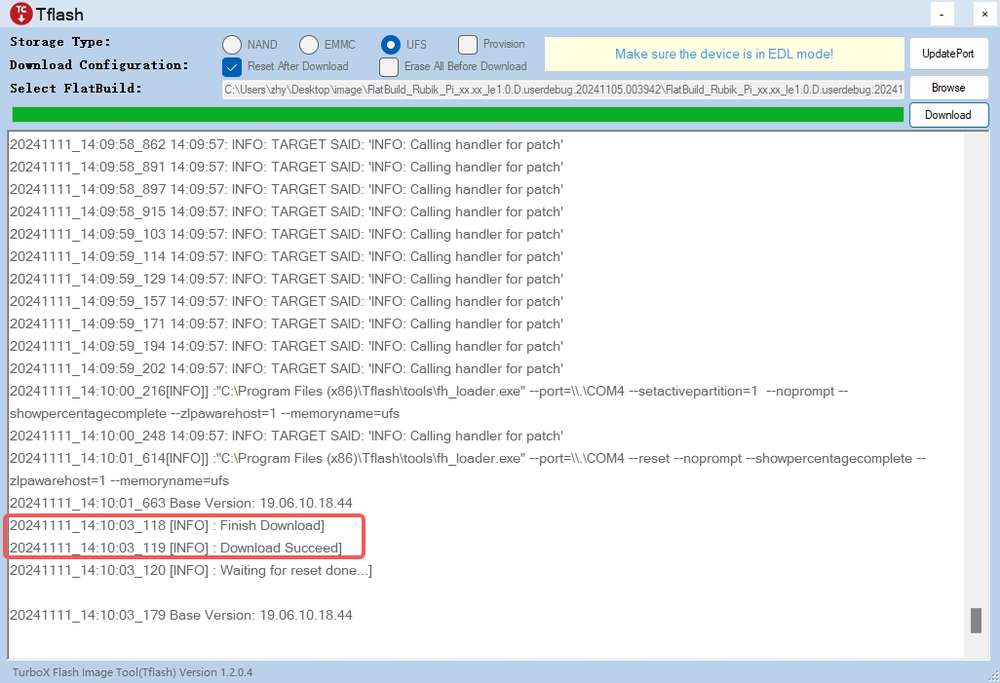
After images are successfully flashed, the following logs will be displayed:
-
If you have selected Reset After Download, the board will reboot automatically after flashing.
-
If you have not selected Reset After Download, disconnect the power cable and USB cable to power off your RUBIK Pi 3, then reconnect the power cable and press the [PWR] button to start your RUBIK Pi 3.
-
Fix boot failures after flashing
In the Android Alpha version, you need to download this file and extract it to the ufs directory of the image package.
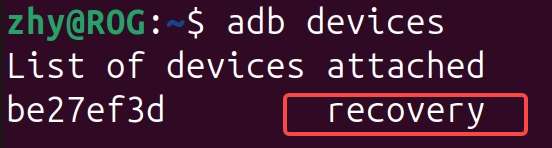
If you enter recovery mode as shown in the following figure after flashing, check Erase All Before Download before the flashing process.
If you fail to flash images or your RUBIK Pi 3 fails to boot up after flashing (the heartbeat LED in the red box below does not blink), try provisioning UFS.
After provisioning, some information stored in the UFS, such as the SN and Ethernet MAC address, may be lost.
The operations to provision UFS are as follows:
-
Enter 9008 mode.
-
Select UFS for Storage Type and select Provision.
-
Flash the provision file.
-
Click Browse.
-
Go to the provision directory in the image package, select prog_firehose_ddr.elf, and click Open.
-
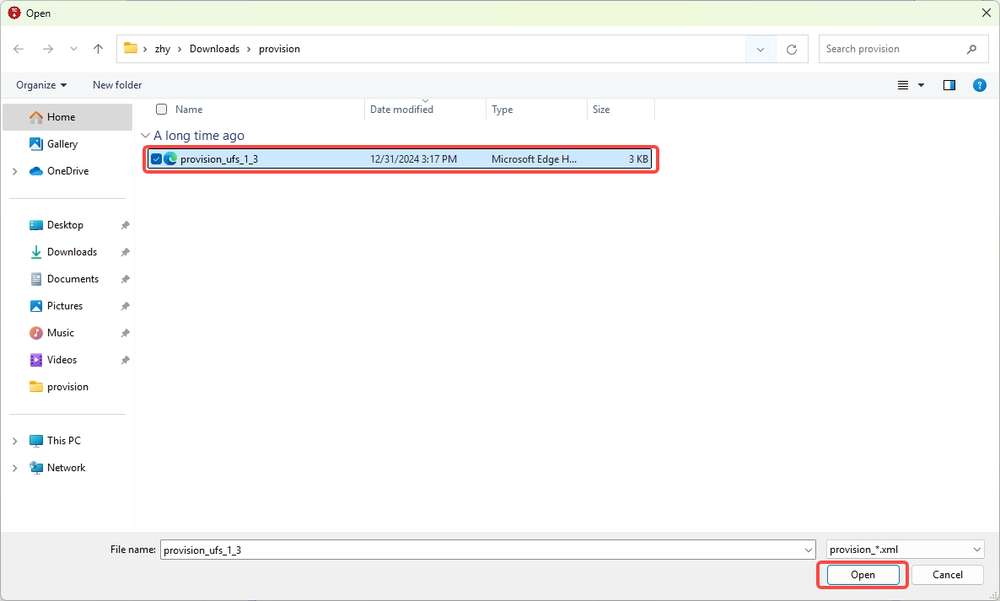
Select the provision_1_3.xml file and click Open.
-
When "Load Image PATCH Successfully!" is displayed in the log, click Download to start provisioning.
When the provisioning is completed, the following log is displayed.
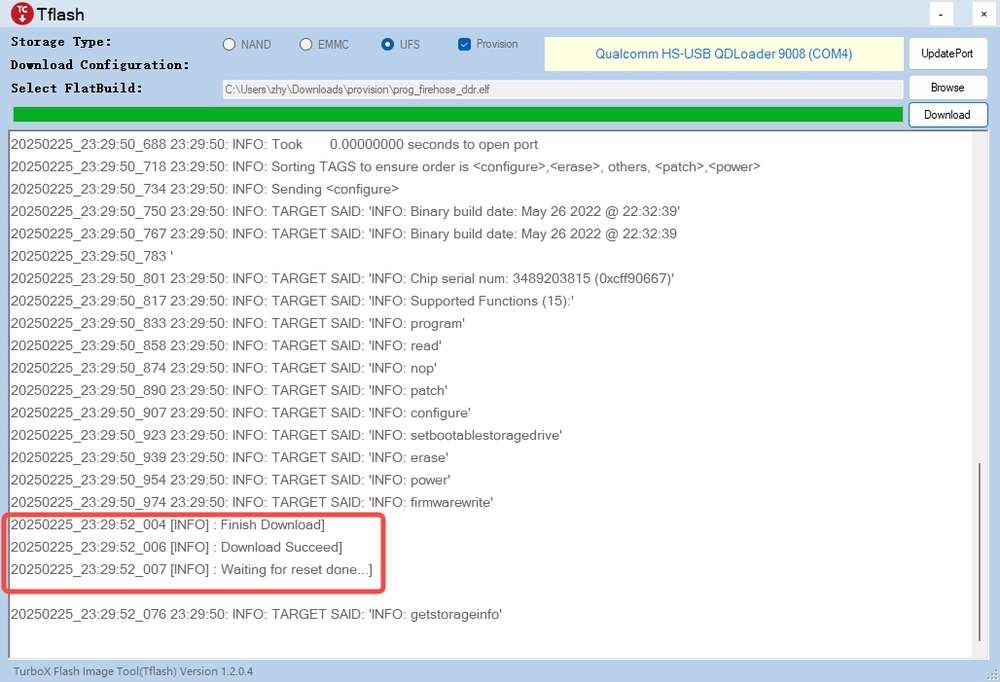 note
noteAfter provisioning, remove and plug in the power supply and USB cable to restart your RUBIK Pi 3.
-
Flash images on an Ubuntu system
Operation procedure
-
Go to the FlatBuild package directory.
-
Run
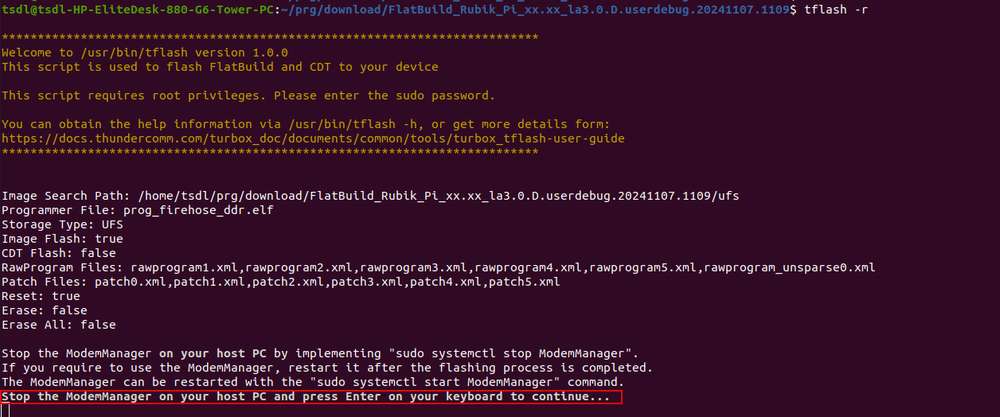
tflash -r.noteRun the
tflash -hcommand to view more parameters.-rin the above command indicates restarting your RUBIK Pi 3 after flashing is completed. -
When "Stop the ModemManager on your host PC and press Enter on your keyboard to continue..." appears on the screen, press Enter to flash images.
If the following information is displayed after the tflash operation, it indicates that flashing was successful.
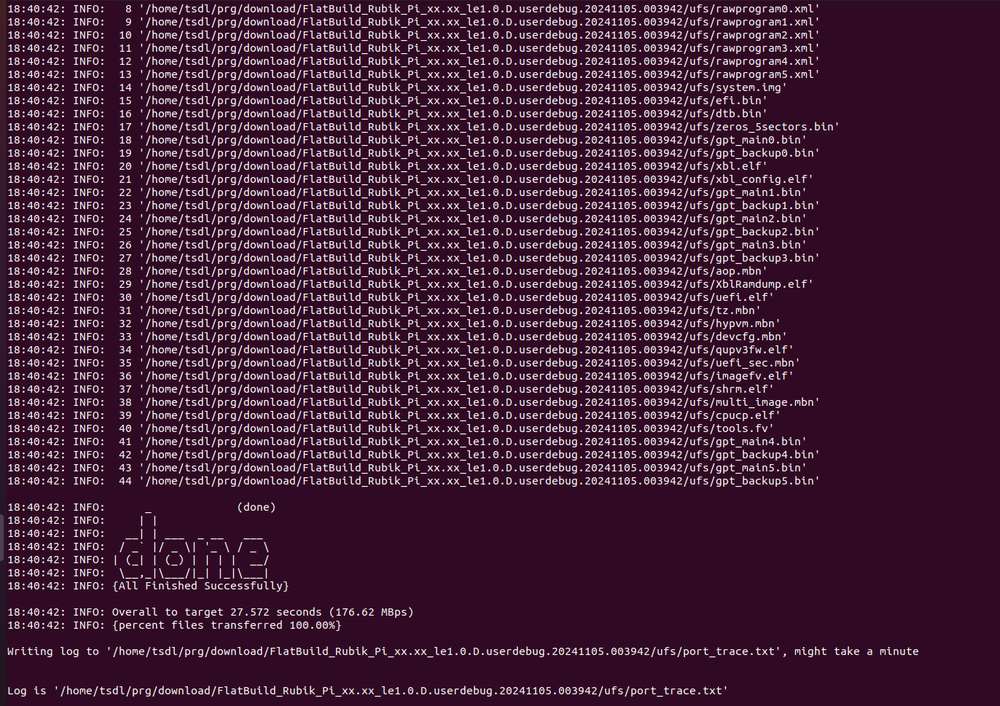
When running
tflashon your PC, enter your PC login password.
- After successful image flashing by using the
-rparameter, RUBIK Pi 3 automatically reboots.
Fix boot failures after flashing
In the Android Alpha version, you need to download this file and extract it to the ufs directory of the image package.
If you enter recovery mode as shown in the following figure after flashing, add the -e parameter during the flashing process, such as tflash -r -e.
If you fail to flash images or your RUBIK Pi 3 fails to boot up after flashing (the heartbeat LED in the red box below does not blink), try provisioning UFS.
After provisioning, some information stored in the UFS, such as the SN and Ethernet MAC address, may be lost.
The operations to provision UFS are as follows:
-
Enter 9008 mode.

-
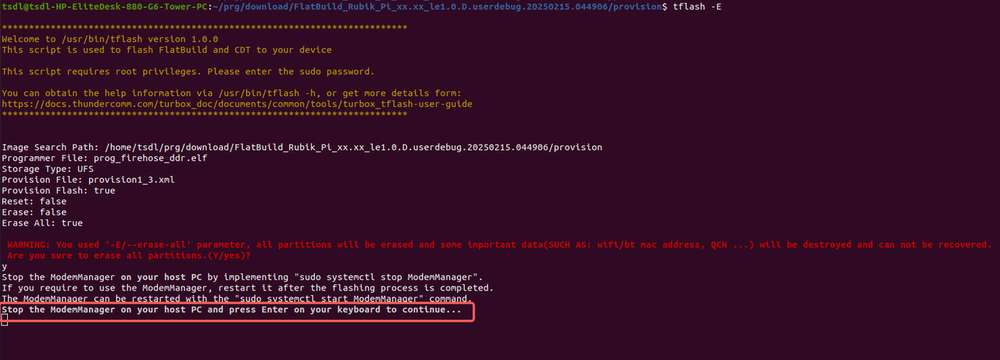
Go to the provision directory in the image package, run
tflash -E, type "y" and press Enter.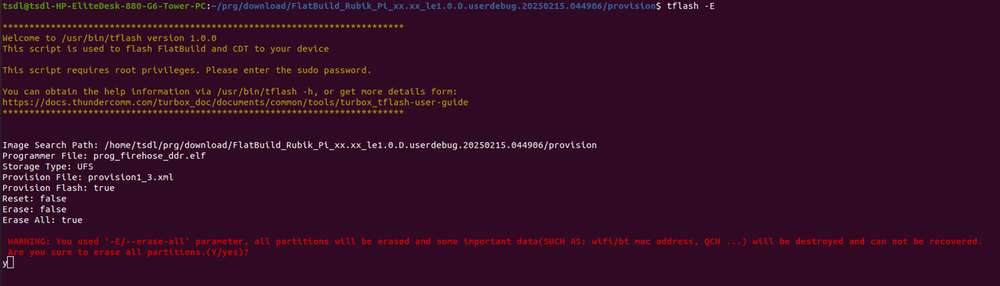
-
When "Stop the ModemManager on your host PC and press Enter on your keyboard to continue..." appears on the screen, press Enter to flash images.
If the following information is displayed after the tflash operation, it indicates that flashing was successful.
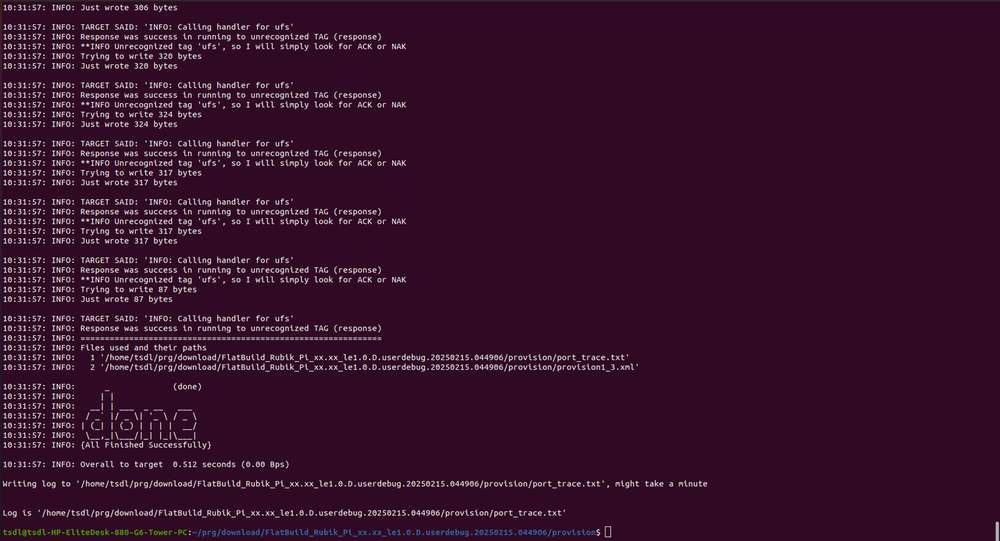
After provisioning, remove and plug in the power supply and USB cable to restart your RUBIK Pi 3.
Power-on
For older board versions, connect the power supply and press the [PWR] button to power on your RUBIK Pi 3. Board versions v02 and later support automatic power-on.

Power-off
Run the reboot -p command to power off your RUBIK Pi 3.

Reboot
Run the reboot command to reboot your RUBIK Pi 3.

Press and hold the [PWR] button for 12 seconds to reboot your RUBIK Pi 3.
UART login
Windows
-
Connect port 2 in the following figure to a computer.
-
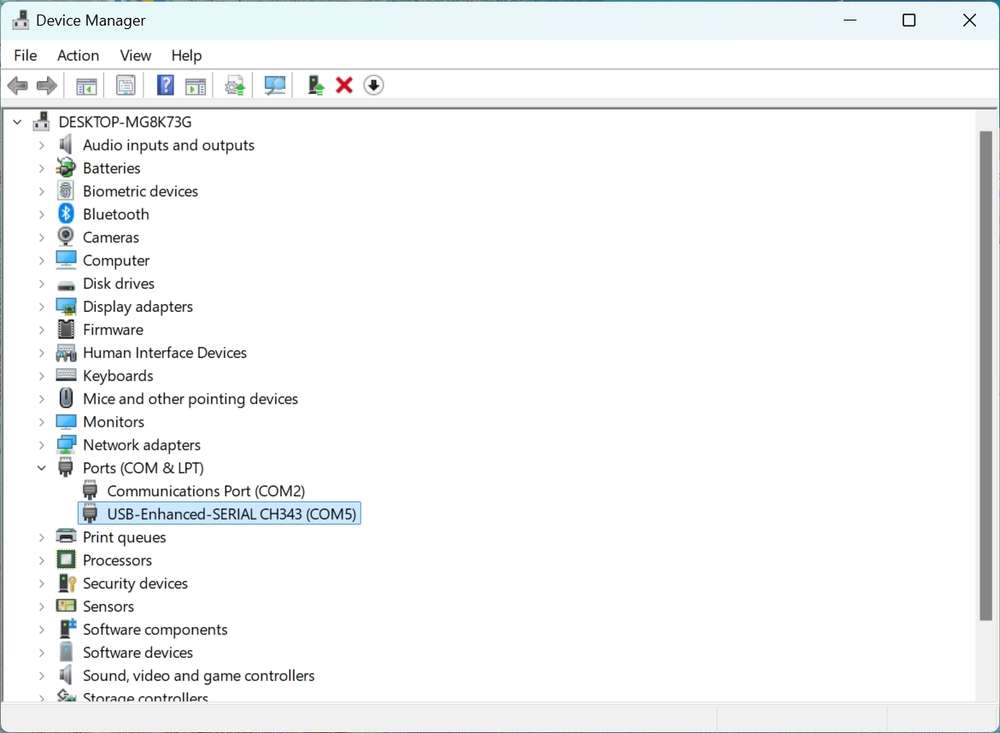
Open the computer settings page, check the corresponding COM port in Device Manager, and record the port.
-
Download MobaXterm at https://mobaxterm.mobatek.net/ and decompress it.

-
Open MobaXterm, select Session > Serial, and set the baud rate of the serial port to 115200.


-
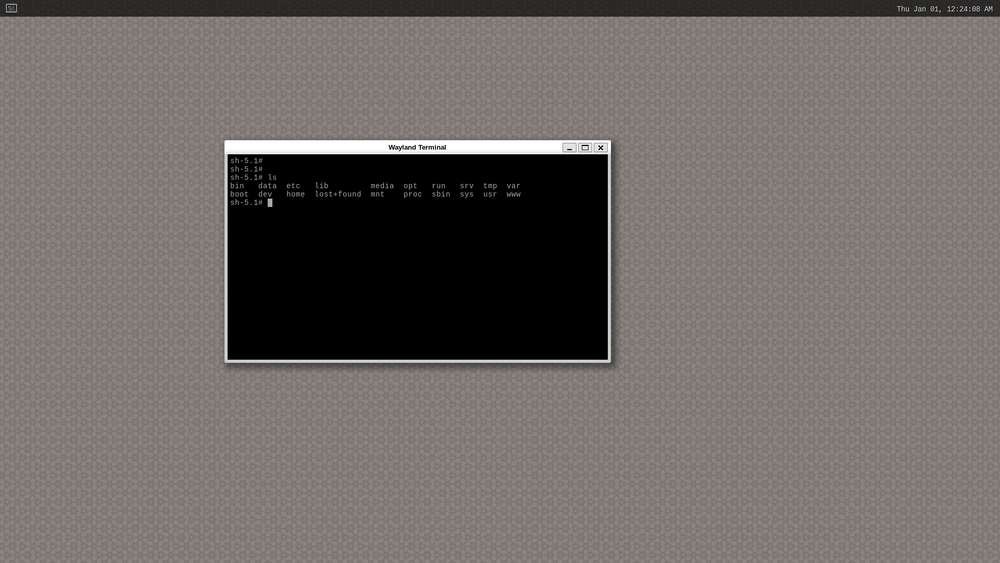
Click OK to enter the terminal. Press Enter to log in to the device.
-
Run the
sucommand to switch to the root user.
Ubuntu
-
Connect port 2 in the following figure to a computer.

-
Run the following commands to install minicom:
sudo apt updatesudo apt install minicom
-
Run the following command to check the USB port:
ls /dev/ttyACM*
-
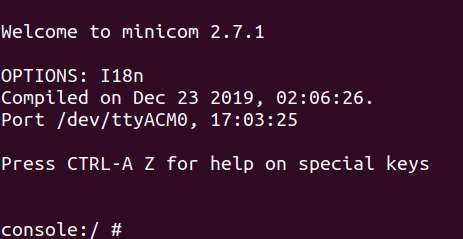
Run the following command to open minicom. Press Enter and type the default login name and login password to log in:
sudo minicom -D /dev/ttyACM0 -b 115200After a successful login, you will be directly connected to the serial console.
ADB login
Windows
Preparations
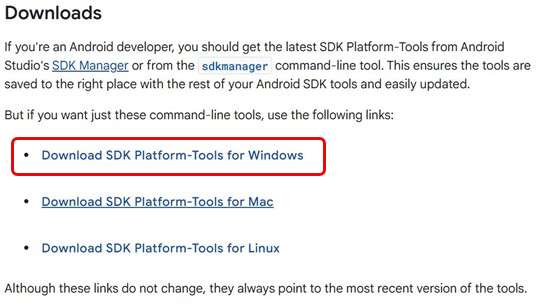
- Download the ADB and Fastboot installation package at https://developer.android.google.cn/tools/releases/platform-tools and decompress the package.
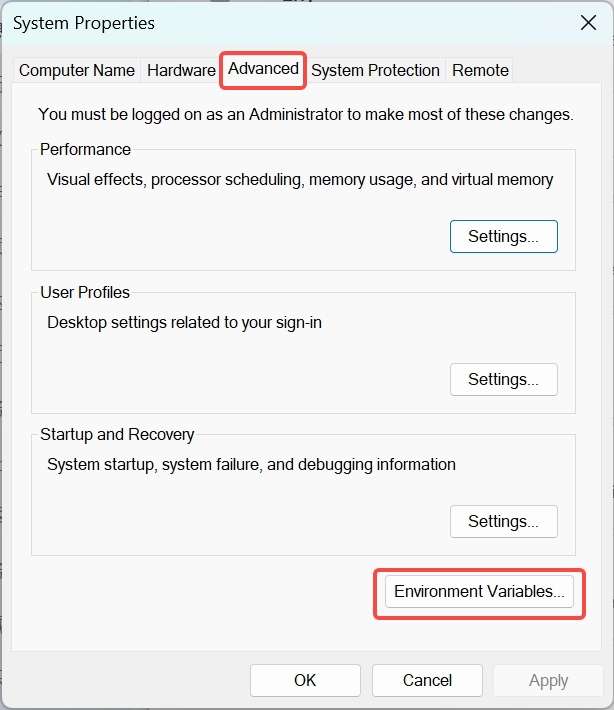
- Right-click This PC and choose Properties. Click Advanced and click Environment Variables. Alternatively, right-click This PC and choose Properties. In the search bar, type Advanced system settings and click Environment Variables.
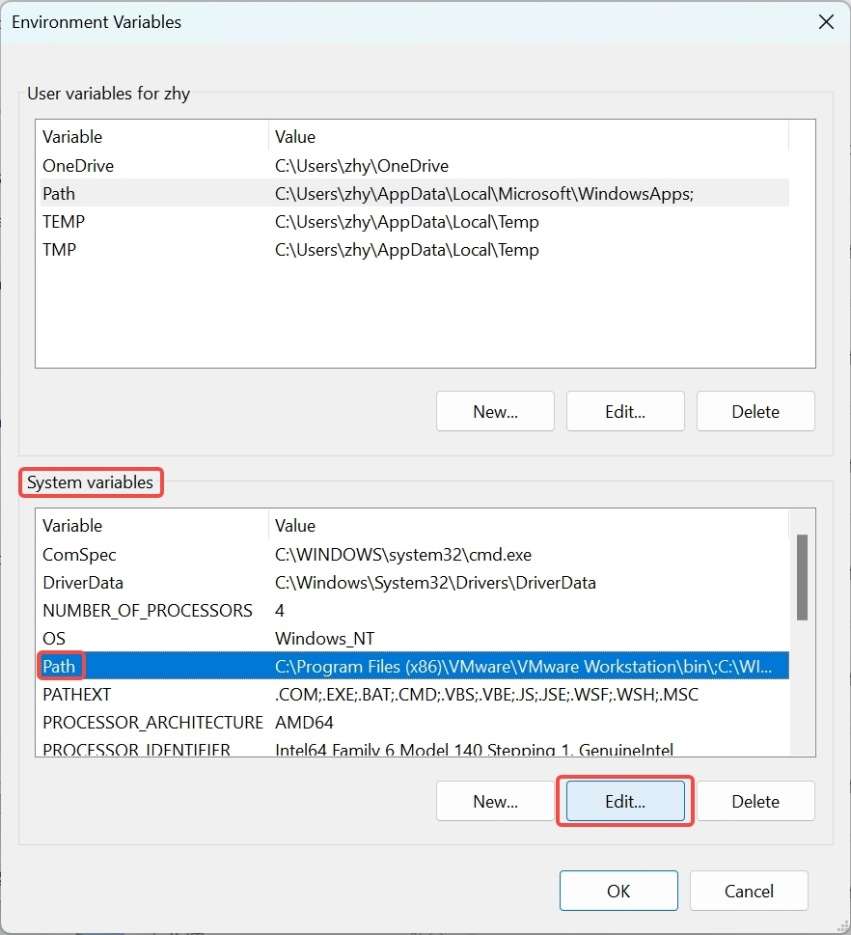
- Under System variables, select Path and click Edit.
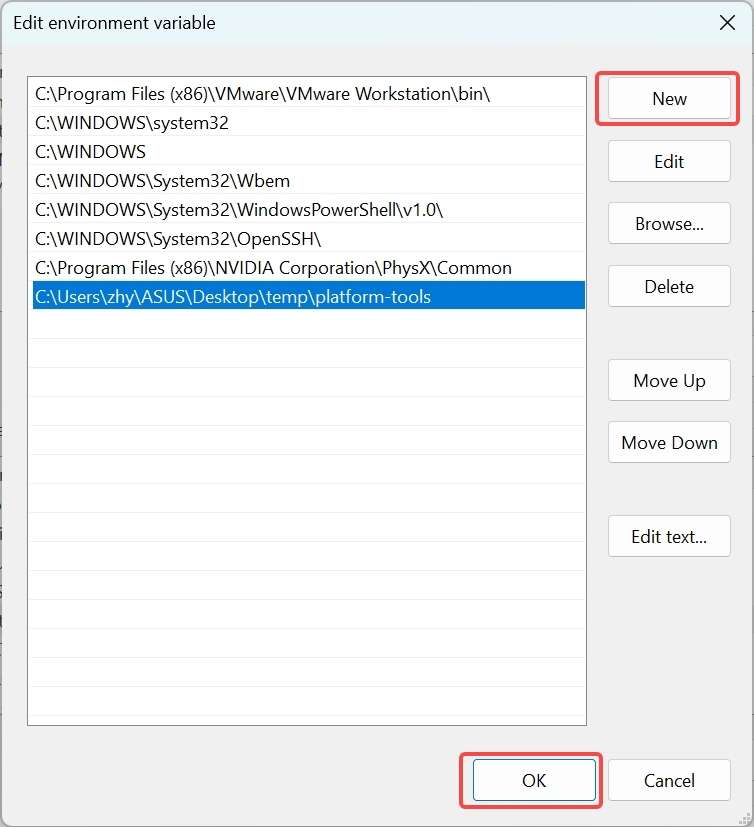
- Click New and type the path of decompressed platform-tools in Step 1. Click OK to save the environment variable.
ADB login
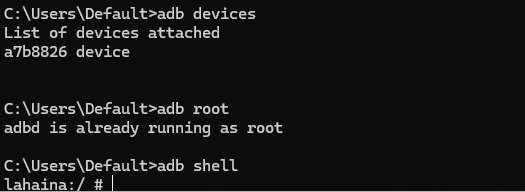
Press Win+R and type "cmd" to open the Windows terminal. Run the following commands to log in to your RUBIK Pi 3:
adb devices # Check if devices are connected
adb root    # Log in as root user
adb shell   # Open the adb terminal
Ubuntu
Preparations
-
Run the following command to install the ADB and Fastboot tools:
sudo apt install git android-tools-adb android-tools-fastboot wget -
Update the udev rules file.
-
Run the following command to open and modify the 51-qcom-usb.rules file.
sudo vi /etc/udev/rules.d/51-qcom-usb.rules -
Add the following content to the file. If the following content already exists, skip this step.
SUBSYSTEMS=="usb", ATTRS{idVendor}=="05c6", ATTRS{idProduct}=="9008", MODE="0666", GROUP="plugdev" -
Run the following command to restart
udev.sudo systemctl restart udev
noteIf your RUBIK Pi 3 is already connected to the PC via USB, unplug and replug the USB cable so that the updated rules can take effect.
-
ADB login
Run the following commands in the terminal to log in to your RUBIK Pi 3:
adb devices # Check if devices are connected
adb root    # Log in as root user
adb shell   # Open the adb terminal

File transfer
ADB
-
In the PC terminal, run the following command to upload the test.txt file to the /opt directory:
adb push test.txt /opt -
In the PC terminal, run the following command to download the test.txt file to your current directory:
adb pull /opt/test.txt ./