Llama.cpp
您可以使用 llama.cpp 在 Dragonwing 开发板上运行各种大语言模型(LLM)和视觉语言模型(VLM)。在 llama.cpp 下运行的模型在GPU而非NPU上运行。您可以通过 GENIE 在NPU上运行部分模型子集。
构建 llama.cpp
您需要为 llama.cpp 构建一些依赖项。在开发板上打开终端,或建立 SSH 会话,然后执行以下操作:
1️⃣ 安装构建依赖项:
sudo apt update
sudo apt install -y cmake ninja-build curl libcurl4-openssl-dev
2️⃣ 安装 OpenCL 头文件和 ICD 加载器库:
mkdir -p ~/dev/llm

# Symlink the OpenCL shared library
sudo rm -f /usr/lib/libOpenCL.so
sudo ln -s /lib/aarch64-linux-gnu/libOpenCL.so.1.0.0 /usr/lib/libOpenCL.so

# OpenCL headers
cd ~/dev/llm
git clone https://github.com/KhronosGroup/OpenCL-Headers
cd OpenCL-Headers
git checkout 5d52989617e7ca7b8bb83d7306525dc9f58cdd46
mkdir -p build && cd build
cmake .. -G Ninja \
    -DBUILD_TESTING=OFF \
    -DOPENCL_HEADERS_BUILD_TESTING=OFF \
    -DOPENCL_HEADERS_BUILD_CXX_TESTS=OFF \
    -DCMAKE_INSTALL_PREFIX="$HOME/dev/llm/opencl"
cmake --build . --target install

# ICD Loader
cd ~/dev/llm
git clone https://github.com/KhronosGroup/OpenCL-ICD-Loader
cd OpenCL-ICD-Loader
git checkout 02134b05bdff750217bf0c4c11a9b13b63957b04
mkdir -p build && cd build
cmake .. -G Ninja \
    -DCMAKE_BUILD_TYPE=Release \
    -DCMAKE_PREFIX_PATH="$HOME/dev/llm/opencl" \
    -DCMAKE_INSTALL_PREFIX="$HOME/dev/llm/opencl"
cmake --build . --target install

# Symlink OpenCL headers
sudo rm -f /usr/include/CL
sudo ln -s ~/dev/llm/opencl/include/CL/ /usr/include/CL
3️⃣ 使用 OpenCL 后端编译 llama.cpp:
cd ~/dev/llm

# Clone repository
git clone https://github.com/ggml-org/llama.cpp
cd llama.cpp

# We've tested this commit explicitly, you can try master if you want bleeding edge
git checkout f6da8cb86a28f0319b40d9d2a957a26a7d875f8c

# Build
mkdir -p build
cd build
cmake .. -G Ninja \
    -DCMAKE_BUILD_TYPE=Release \
    -DBUILD_SHARED_LIBS=OFF \
    -DGGML_OPENCL=ON
ninja -j`nproc`
4️⃣ 将 llama.cpp 路径添加到 PATH:
cd ~/dev/llm/llama.cpp/build/bin

echo "" >> ~/.bash_profile
echo "# Begin llama.cpp" >> ~/.bash_profile
echo "export PATH=\$PATH:$PWD" >> ~/.bash_profile
echo "# End llama.cpp" >> ~/.bash_profile
echo "" >> ~/.bash_profile

# To use the llama.cpp files in your current session
source ~/.bash_profile
5️⃣ 现在已完成 llama.cpp 的部署:
llama-cli --version
# ggml_opencl: selected platform: 'QUALCOMM Snapdragon(TM)'
# ggml_opencl: device: 'QUALCOMM Adreno(TM) 635 (OpenCL 3.0 Adreno(TM) 635)'
# ggml_opencl: OpenCL driver: OpenCL 3.0 QUALCOMM build: 0808.0.7 Compiler E031.49.02.00
# ggml_opencl: vector subgroup broadcast support: true
下载并量化模型
为了运行 GPU 加速的模型,你需要使用纯 4-bit 量化(Q4_0)模型,并且格式为 GGUF(llama.cpp 格式,转换指南。可以选择已量化好的模型,或使用 llama-quantize 自行量化模型。例如,对于 Qwen2-1.5B-Instruct:
1️⃣从 HuggingFace 获取 fp16 格式的 Qwen2-1.5B-Instruct 并使用 llama-quantize 进行量化:
# Download fp16 model
wget https://huggingface.co/Qwen/Qwen2-1.5B-Instruct-GGUF/resolve/main/qwen2-1_5b-instruct-fp16.gguf

# Quantize (pure Q4_0)
llama-quantize --pure qwen2-1_5b-instruct-fp16.gguf qwen2-1_5b-instruct-q4_0-pure.gguf Q4_0
2️⃣按照 llama.cpp 编译说明运行此模型。
使用 llama-cli 运行你的第一个 LLM
您现在可以通过llama-cli 运行LLM。它会自动将各层转移到 GPU:
llama-cli -m ./qwen2-1_5b-instruct-q4_0-pure.gguf -no-cnv --no-warmup -b 128 -c 2048 -s 11 -n 128 -p "Knock knock, " -fa off

# ... You'll see:
# load_tensors: offloaded 29/29 layers to GPU
# ...
# Knock knock, 11:59 pm ... rest of the story
现在,您设备的 GPU 上已经运行有 LLM。
使用 llama-server 部署 LLM
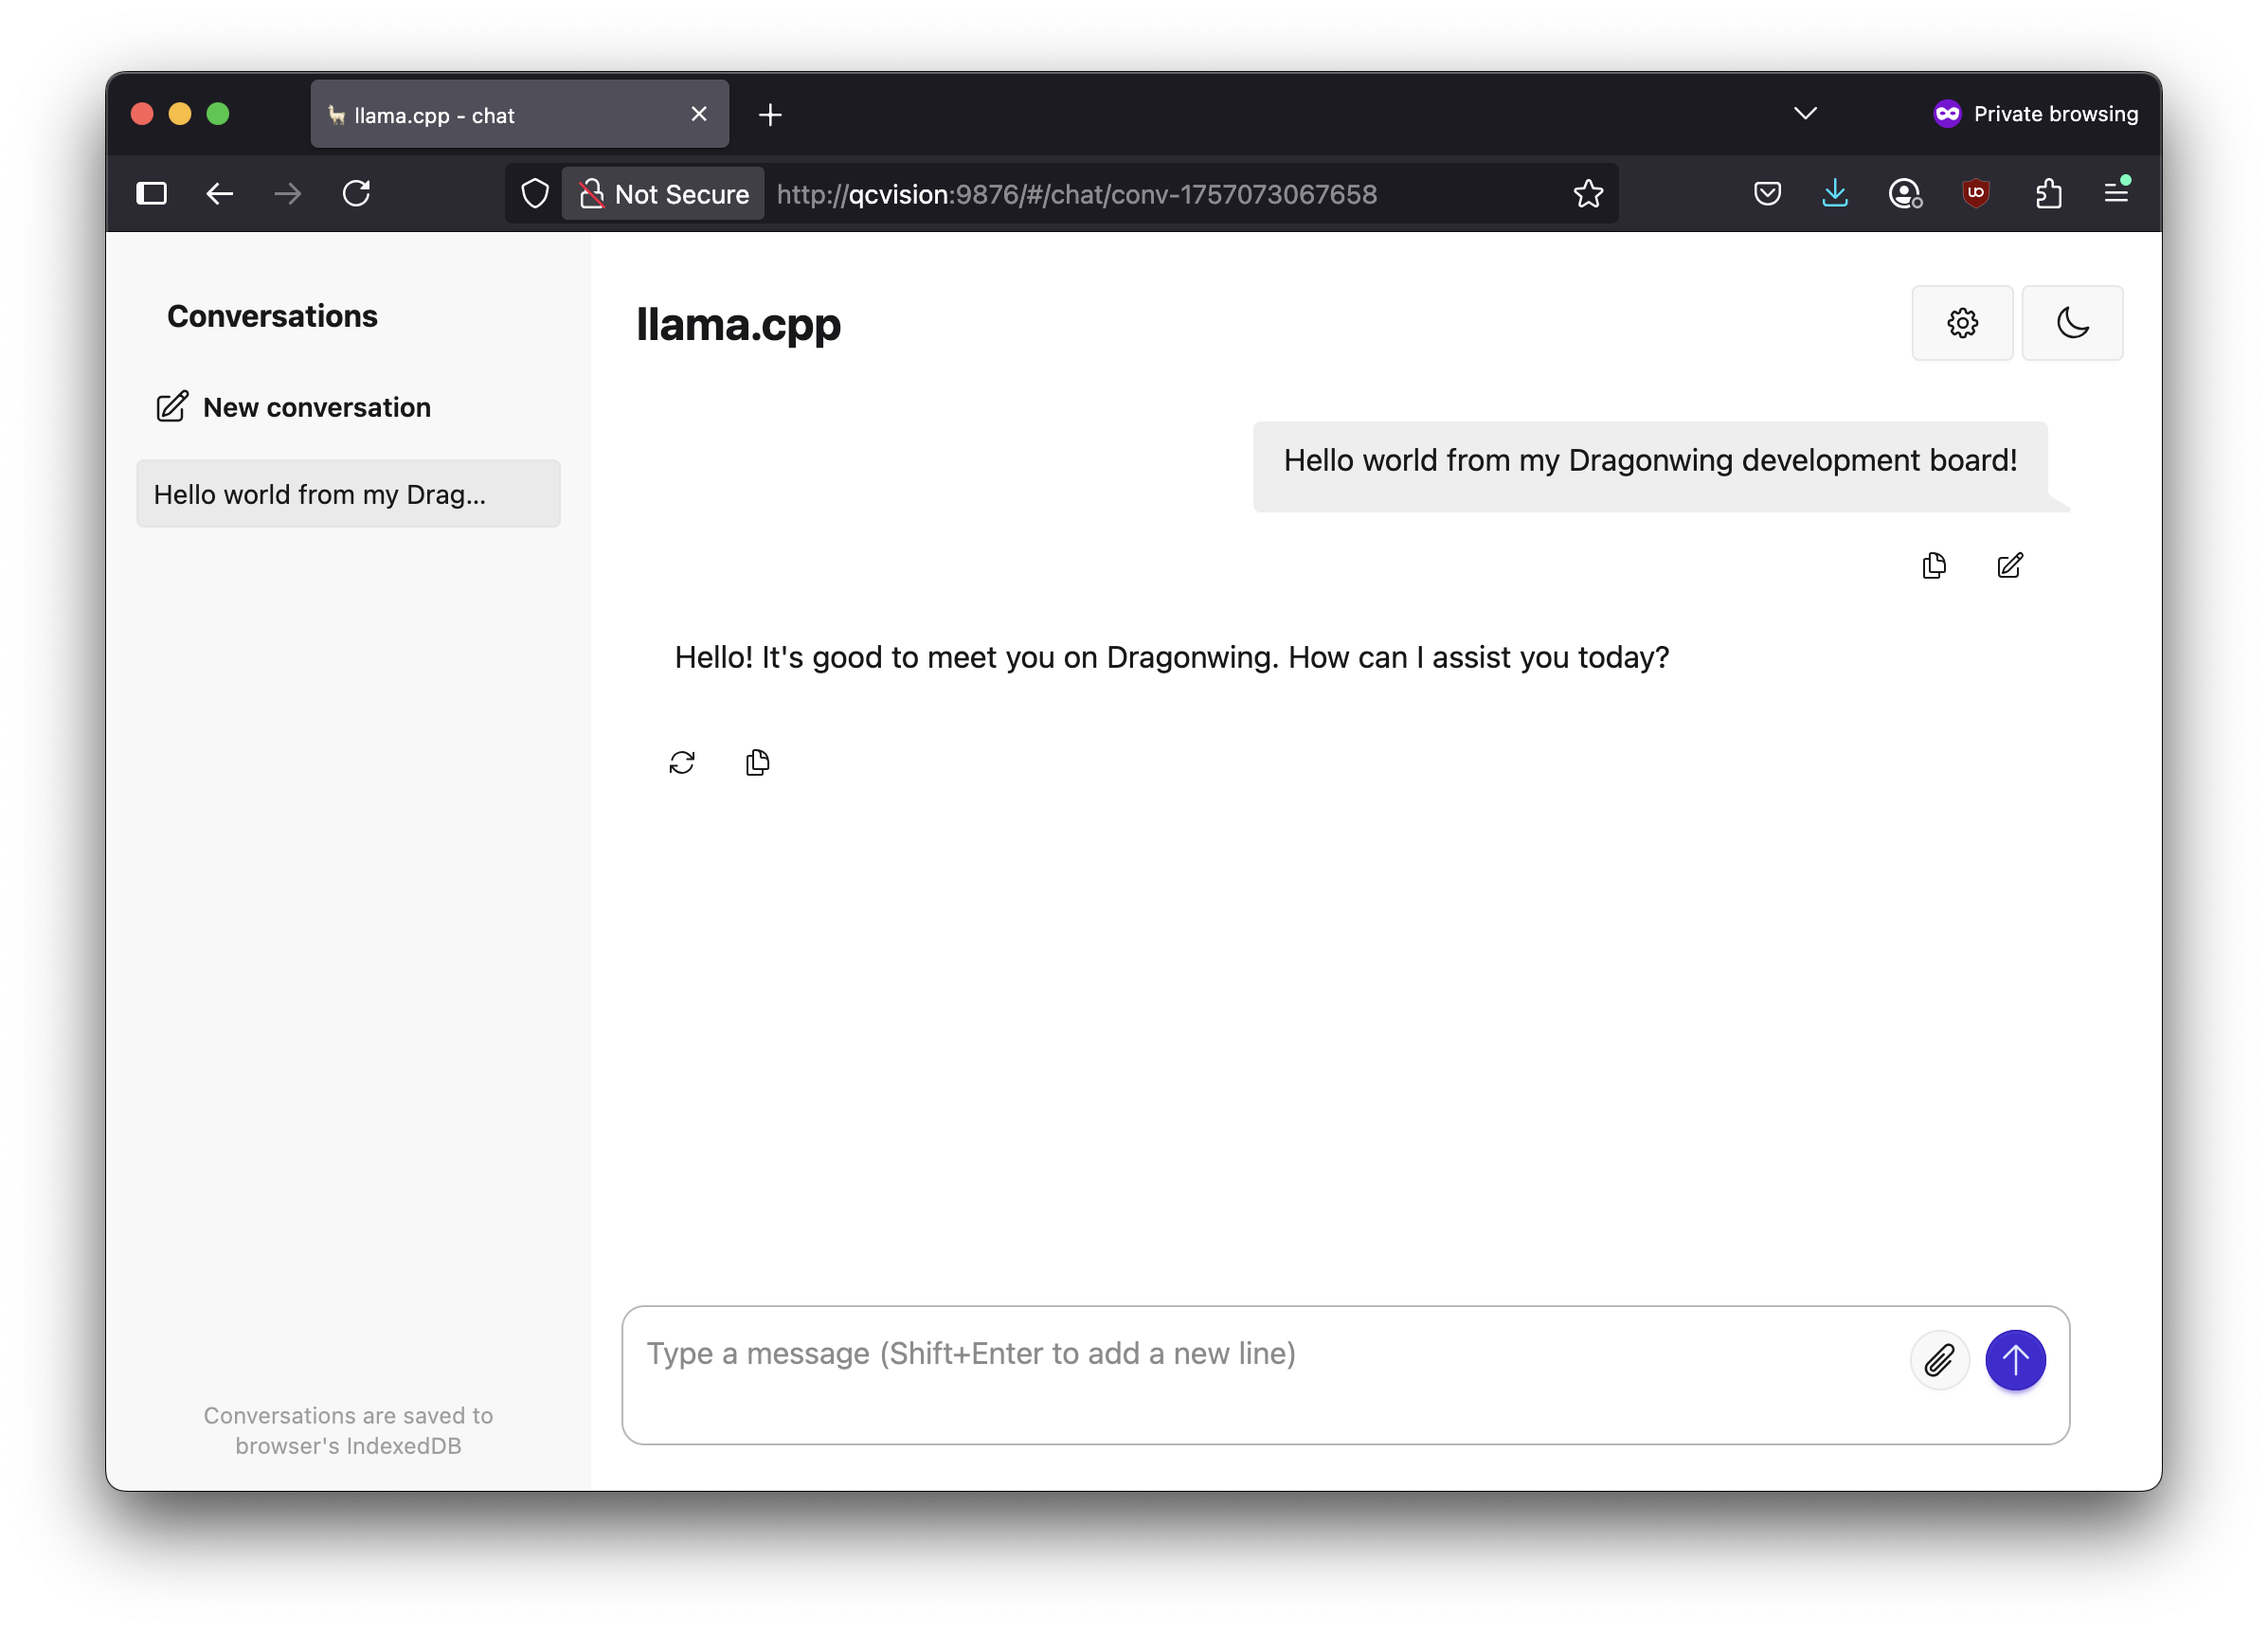
接下来可以使用llama-server启动带有聊天界面的 Web 服务器,该服务器同时提供OpenAI兼容的会话补全API。
1️⃣ 首先,找到开发板的IP地址:
ifconfig | grep -Eo 'inet (addr:)?([0-9]*\.){3}[0-9]*' | grep -Eo '([0-9]*\.){3}[0-9]*' | grep -v '127.0.0.1'

# ... Example:
# 192.168.1.253
2️⃣ 通过以下方式启动服务器:
llama-server -m ./qwen2-1_5b-instruct-q4_0-pure.gguf --no-warmup -b 128 -c 2048 -s 11 -n 128 --host 0.0.0.0 --port 9876
3️⃣ 在您的计算机上,打开 Web 浏览器并前往 http://192.168.1.253:9876 (将 IP 地址替换为您在 1 中找到的 IP 地址):
 4️⃣ 您还可以通过 OpenAI 会话补全 API 以编程方式访问此服务器。例如,从 Python:
a.创建一个新的虚拟环境 (venv) 并安装requests:
python3 -m venv .venv-chat
source .venv/bin/activate
pip3 install requests
b. 创建一个新文件chat.py:
import requests

# if running from your own computer, replace localhost with the IP address of your development board
url = "http://localhost:9876/v1/chat/completions"

payload = {
    "messages": [
        {"role": "system", "content": "You are a helpful assistant."},
        {"role": "user", "content": "Explain Qualcomm in one sentence."}
    ],
    "temperature": 0.7,
    "max_tokens": 200
}

response = requests.post(url, headers={ "Content-Type": "application/json" }, json=payload)
print(response.json())
c. 运行chat.py:
python3 chat.py

# ...
# {'choices': [{'finish_reason': 'stop', 'index': 0, 'message': {'role': 'assistant', 'content': 'Qualcomm is a leading global technology company that designs, develops, licenses, and markets semiconductor-based products and mobile platform technologies to major telecommunications and consumer electronics manufacturers worldwide.'}}], 'created': 1757073340, 'model': 'gpt-3.5-turbo', 'system_fingerprint': 'b6362-f6da8cb8', 'object': 'chat.completion', 'usage': {'completion_tokens': 34, 'prompt_tokens': 26, 'total_tokens': 60}, 'id': 'chatcmpl-3O7l005WG1DzN191FTNomJNweHMoH8Is', 'timings': {'prompt_n': 12, 'prompt_ms': 303.581, 'prompt_per_token_ms': 25.298416666666668, 'prompt_per_second': 39.52816546490064, 'predicted_n': 34, 'predicted_ms': 4052.23, 'predicted_per_token_ms': 119.18323529411765, 'predicted_per_second': 8.390441806116632}}
部署多模态LLM
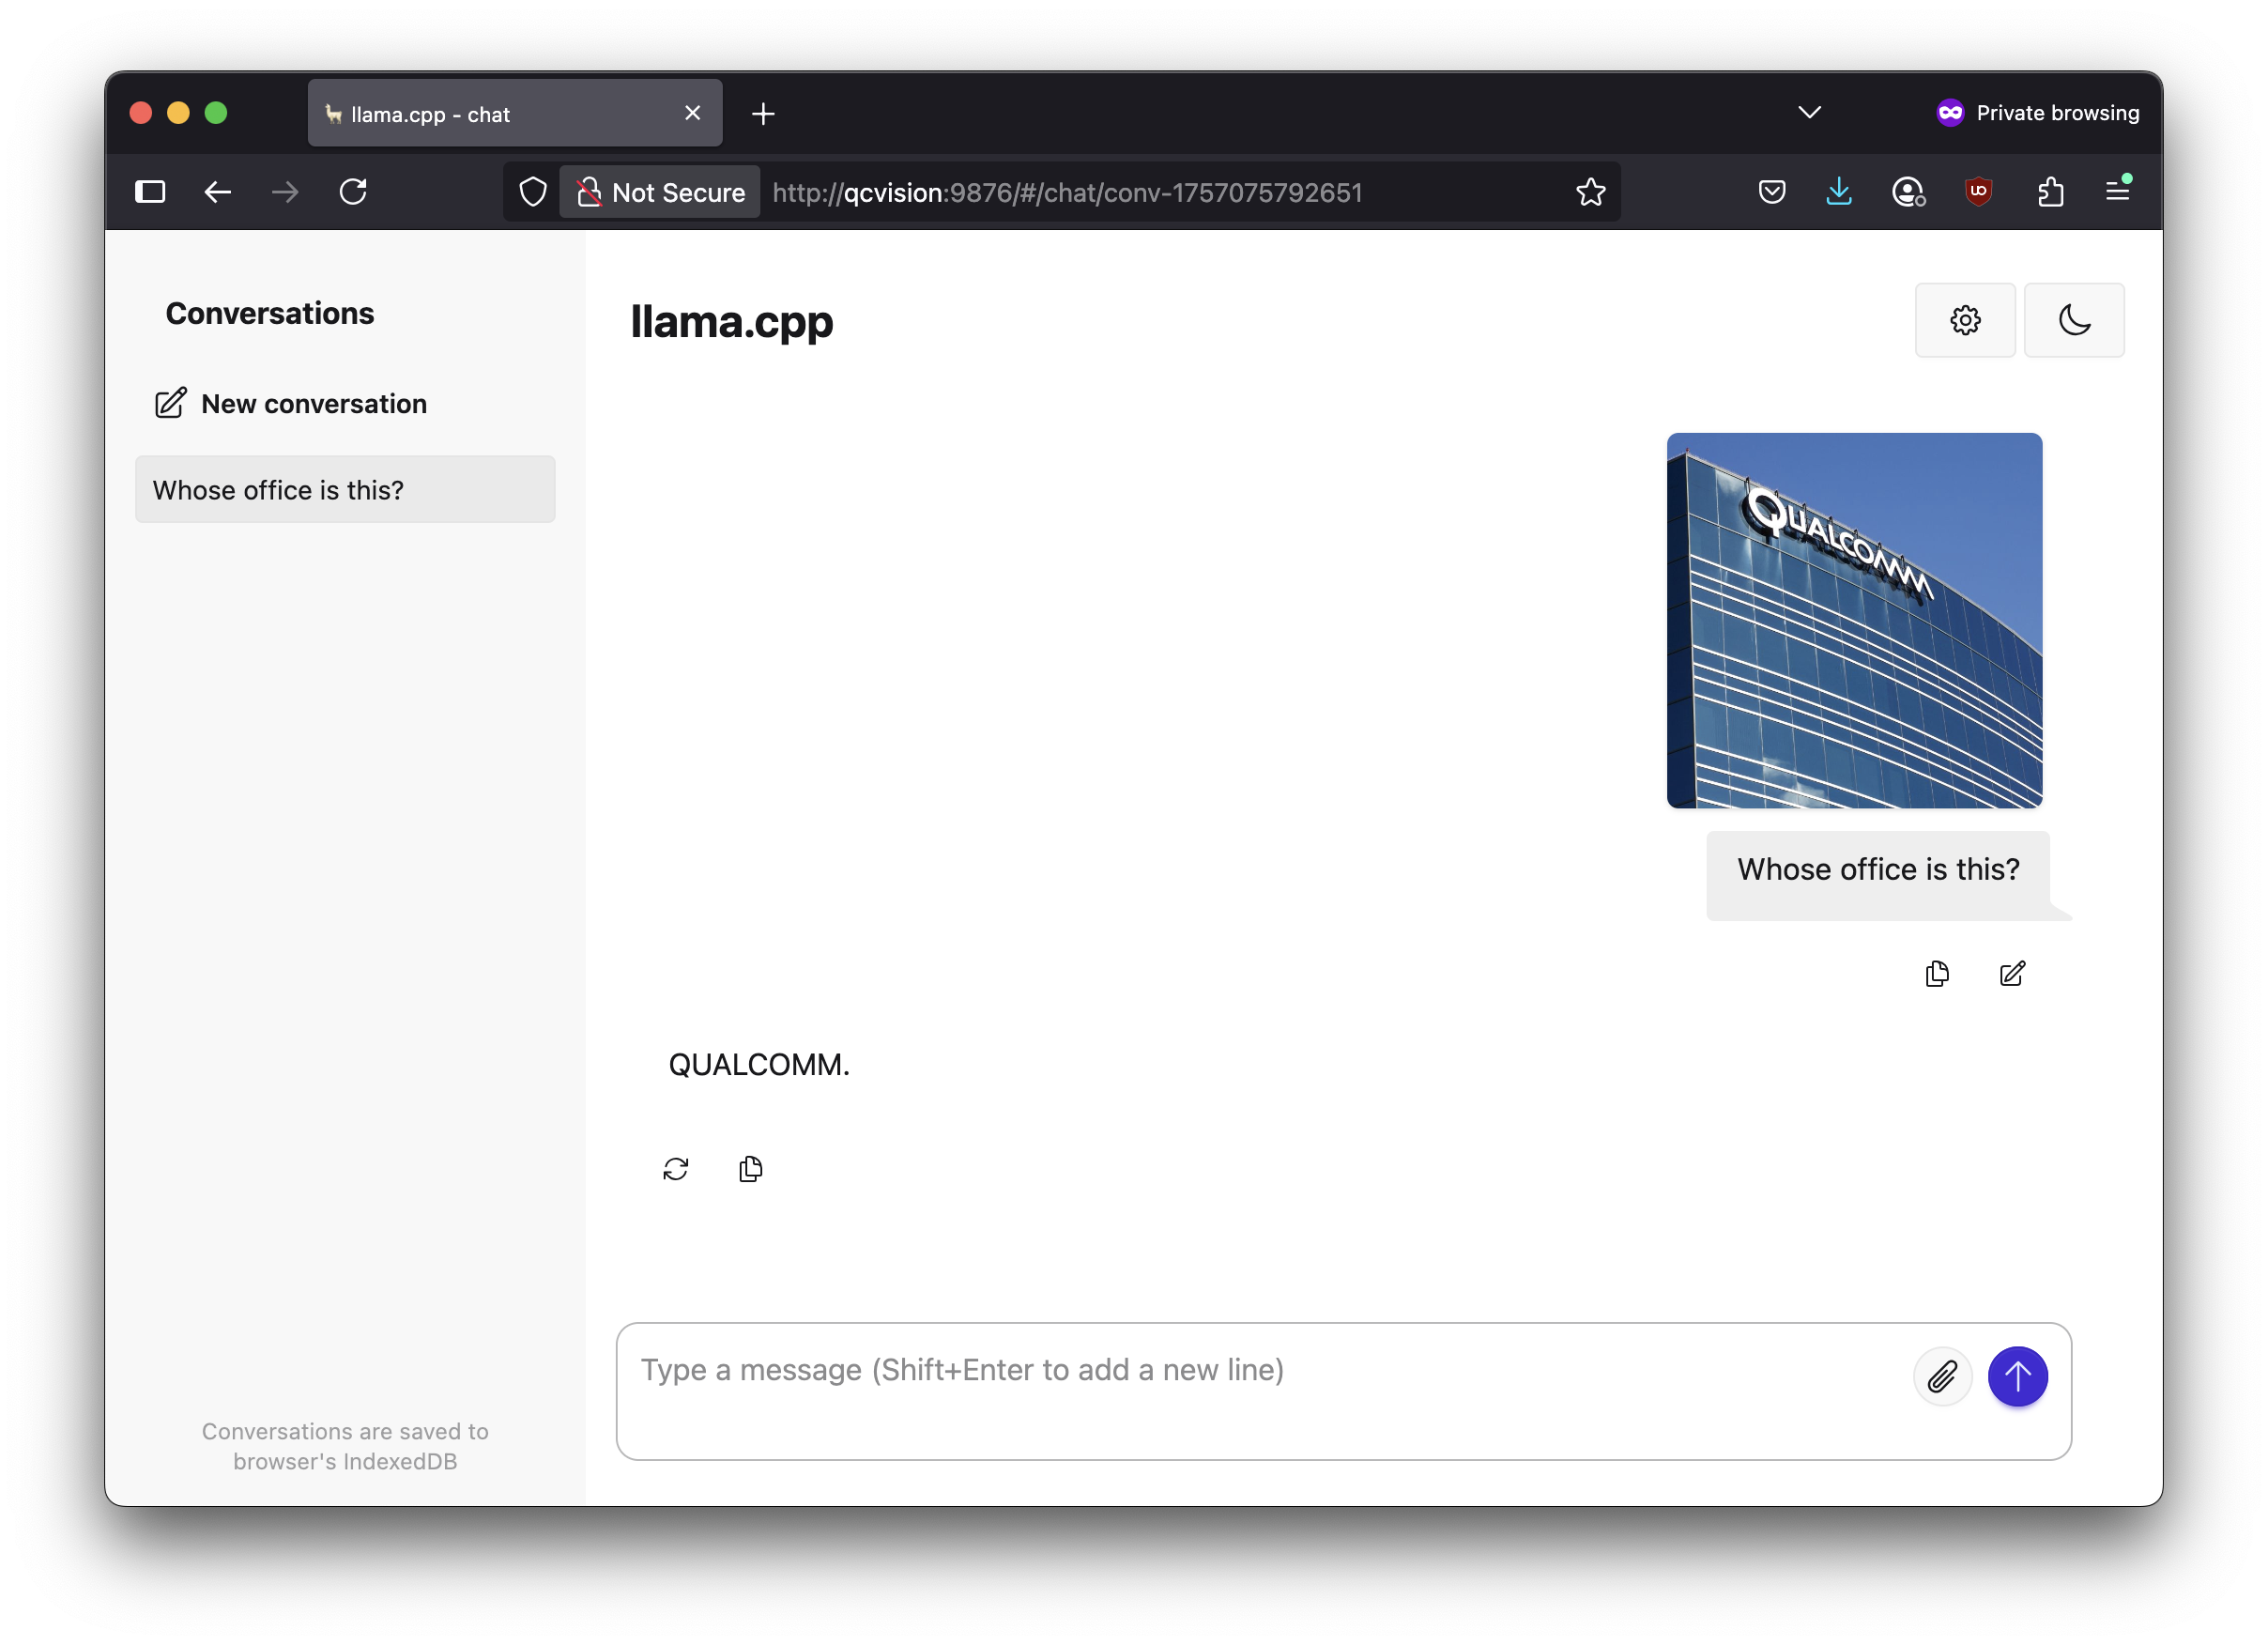
您同样可以部署多模态大语言模型。例如 SmolVLM-500M-Instruct-GGUF。下载 Q4_0 量化权重文件(或自行量化),并下载 CLIP 编码器mmproj-*.gguf文件。例如:
# Download weights
wget https://huggingface.co/ggml-org/SmolVLM-500M-Instruct-GGUF/resolve/main/SmolVLM-500M-Instruct-f16.gguf
wget https://huggingface.co/ggml-org/SmolVLM-500M-Instruct-GGUF/resolve/main/mmproj-SmolVLM-500M-Instruct-f16.gguf

# Quantize model (mmproj- models are not quantizable via llama-quantize, see below)
llama-quantize --pure SmolVLM-500M-Instruct-f16.gguf SmolVLM-500M-Instruct-q4_0-pure.gguf Q4_0

# Server the model
llama-server -m ./SmolVLM-500M-Instruct-q4_0-pure.gguf --mmproj ./mmproj-SmolVLM-500M-Instruct-f16.gguf --no-warmup -b 128 -c 2048 -s 11 -n 128 --host 0.0.0.0 --port 9876

CLIP 模型仍为 fp16: mmproj 模型仍然是 fp16;因此处理图像会很慢。旧版本 llama.cpp 中,有量化 CLIP 编码器的代码。
提示与技巧
比较 CPU 性能
把-ngl 0添加到llama-*命令以跳过将层转移到 GPU 的操作。�模型将在 CPU 上运行,您可以将其与 GPU 性能进行比较。
例如, 魔方派 3 上的 Qwen2-1.5B-Instruct Q4_0:
GPU:
llama-cli -m ./qwen2-1_5b-instruct-q4_0-pure.gguf -no-cnv --no-warmup -b 128 -c 2048 -s 11 -n 128 -p "Knock knock, " -fa off

# llama_perf_sampler_print:    sampling time =     225.78 ms /   133 runs   (    1.70 ms per token,   589.06 tokens per second)
# llama_perf_context_print:        load time =    5338.13 ms
# llama_perf_context_print: prompt eval time =     201.32 ms /     5 tokens (   40.26 ms per token,    24.84 tokens per second)
# llama_perf_context_print:        eval time =   13214.35 ms /   127 runs   (  104.05 ms per token,     9.61 tokens per second)
# llama_perf_context_print:       total time =   18958.06 ms /   132 tokens
# llama_perf_context_print:    graphs reused =        122
CPU:
llama-cli -m ./qwen2-1_5b-instruct-q4_0-pure.gguf -no-cnv --no-warmup -b 128 -ngl 99 -c 2048 -s 11 -n 128 -p "Knock knock, " -fa off -ngl 0

# llama_perf_sampler_print:    sampling time =      23.47 ms /   133 runs   (    0.18 ms per token,  5666.08 tokens per second)
# llama_perf_context_print:        load time =     677.25 ms
# llama_perf_context_print: prompt eval time =     253.39 ms /     5 tokens (   50.68 ms per token,    19.73 tokens per second)
# llama_perf_context_print:        eval time =   17751.29 ms /   127 runs   (  139.77 ms per token,     7.15 tokens per second)
# llama_perf_context_print:       total time =   18487.26 ms /   132 tokens
# llama_perf_context_print:    graphs reused =        122
这里 GPU 的令牌处理速度比 CPU 快约 33%。